
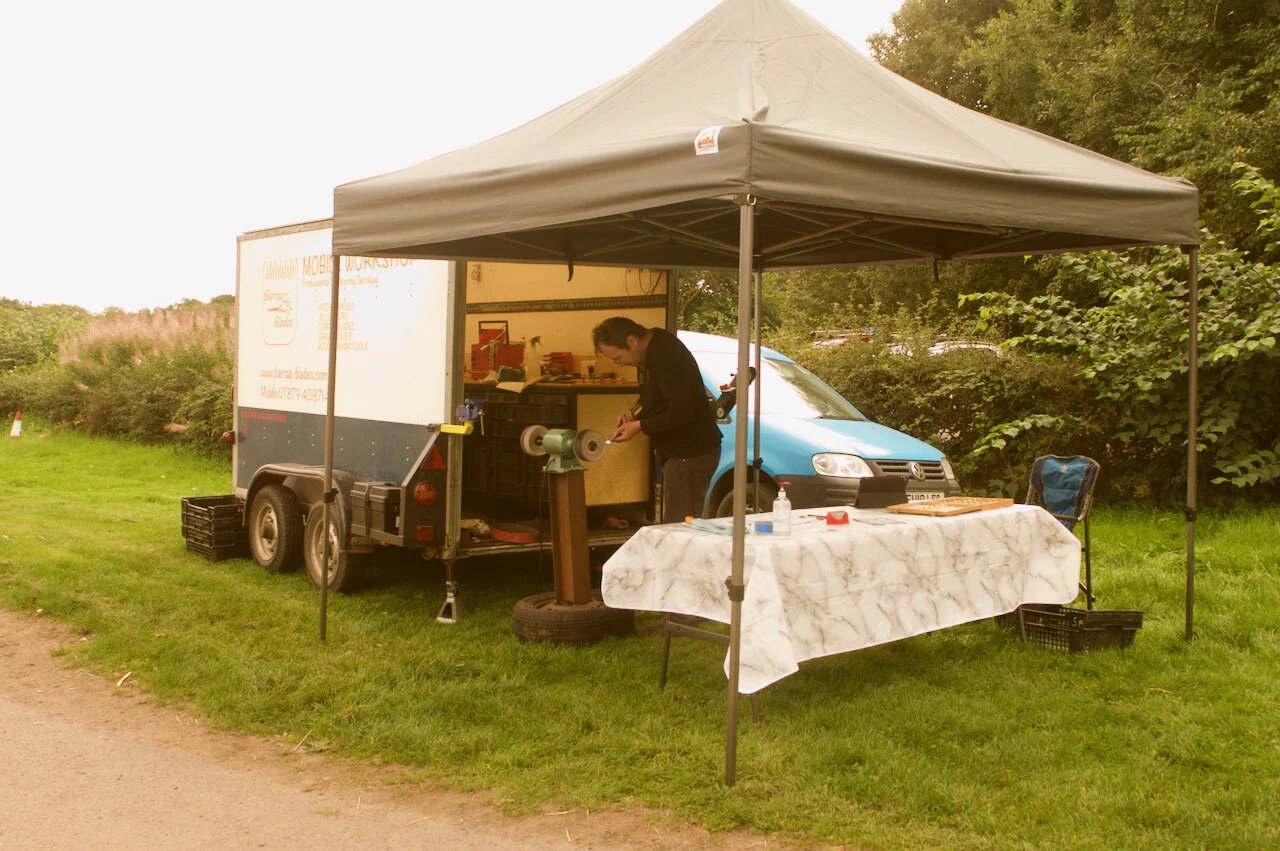
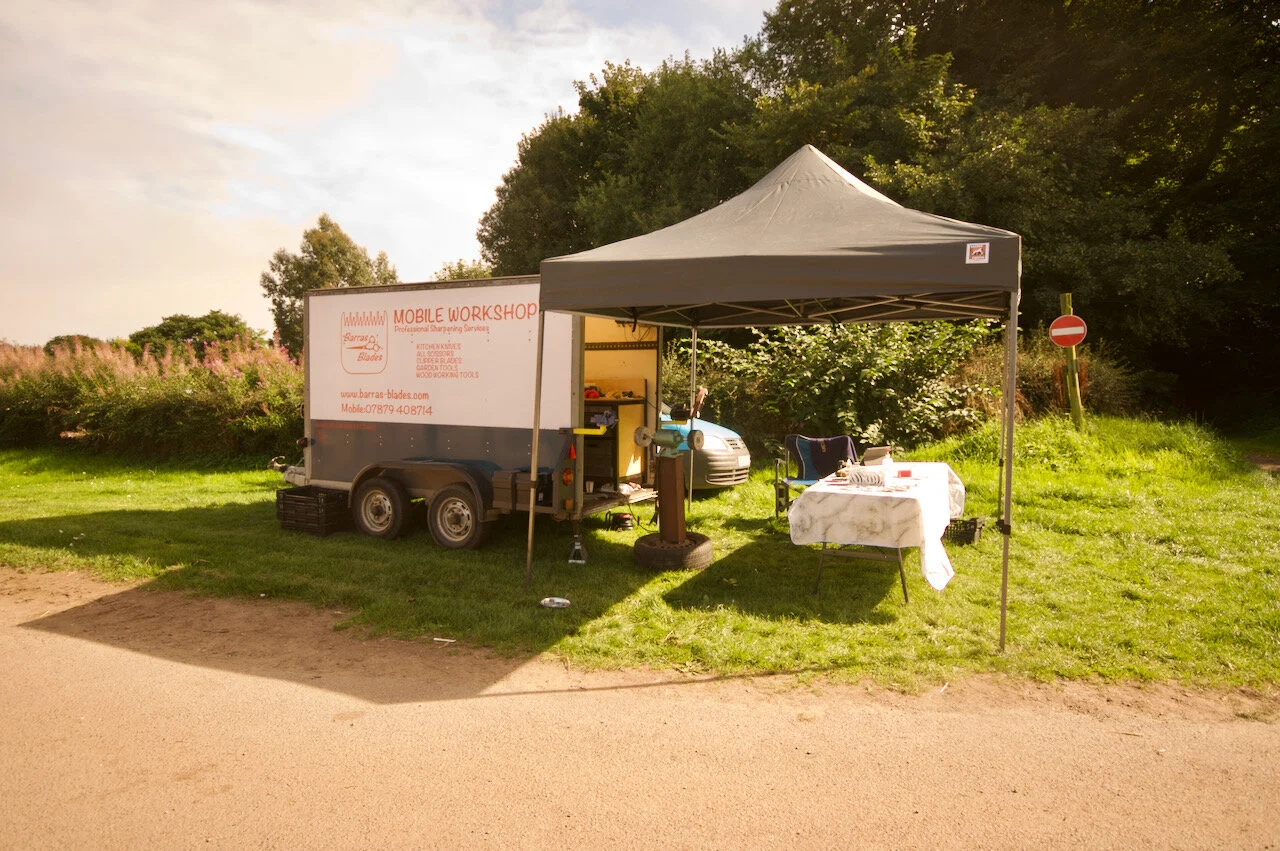
The mobile workshop
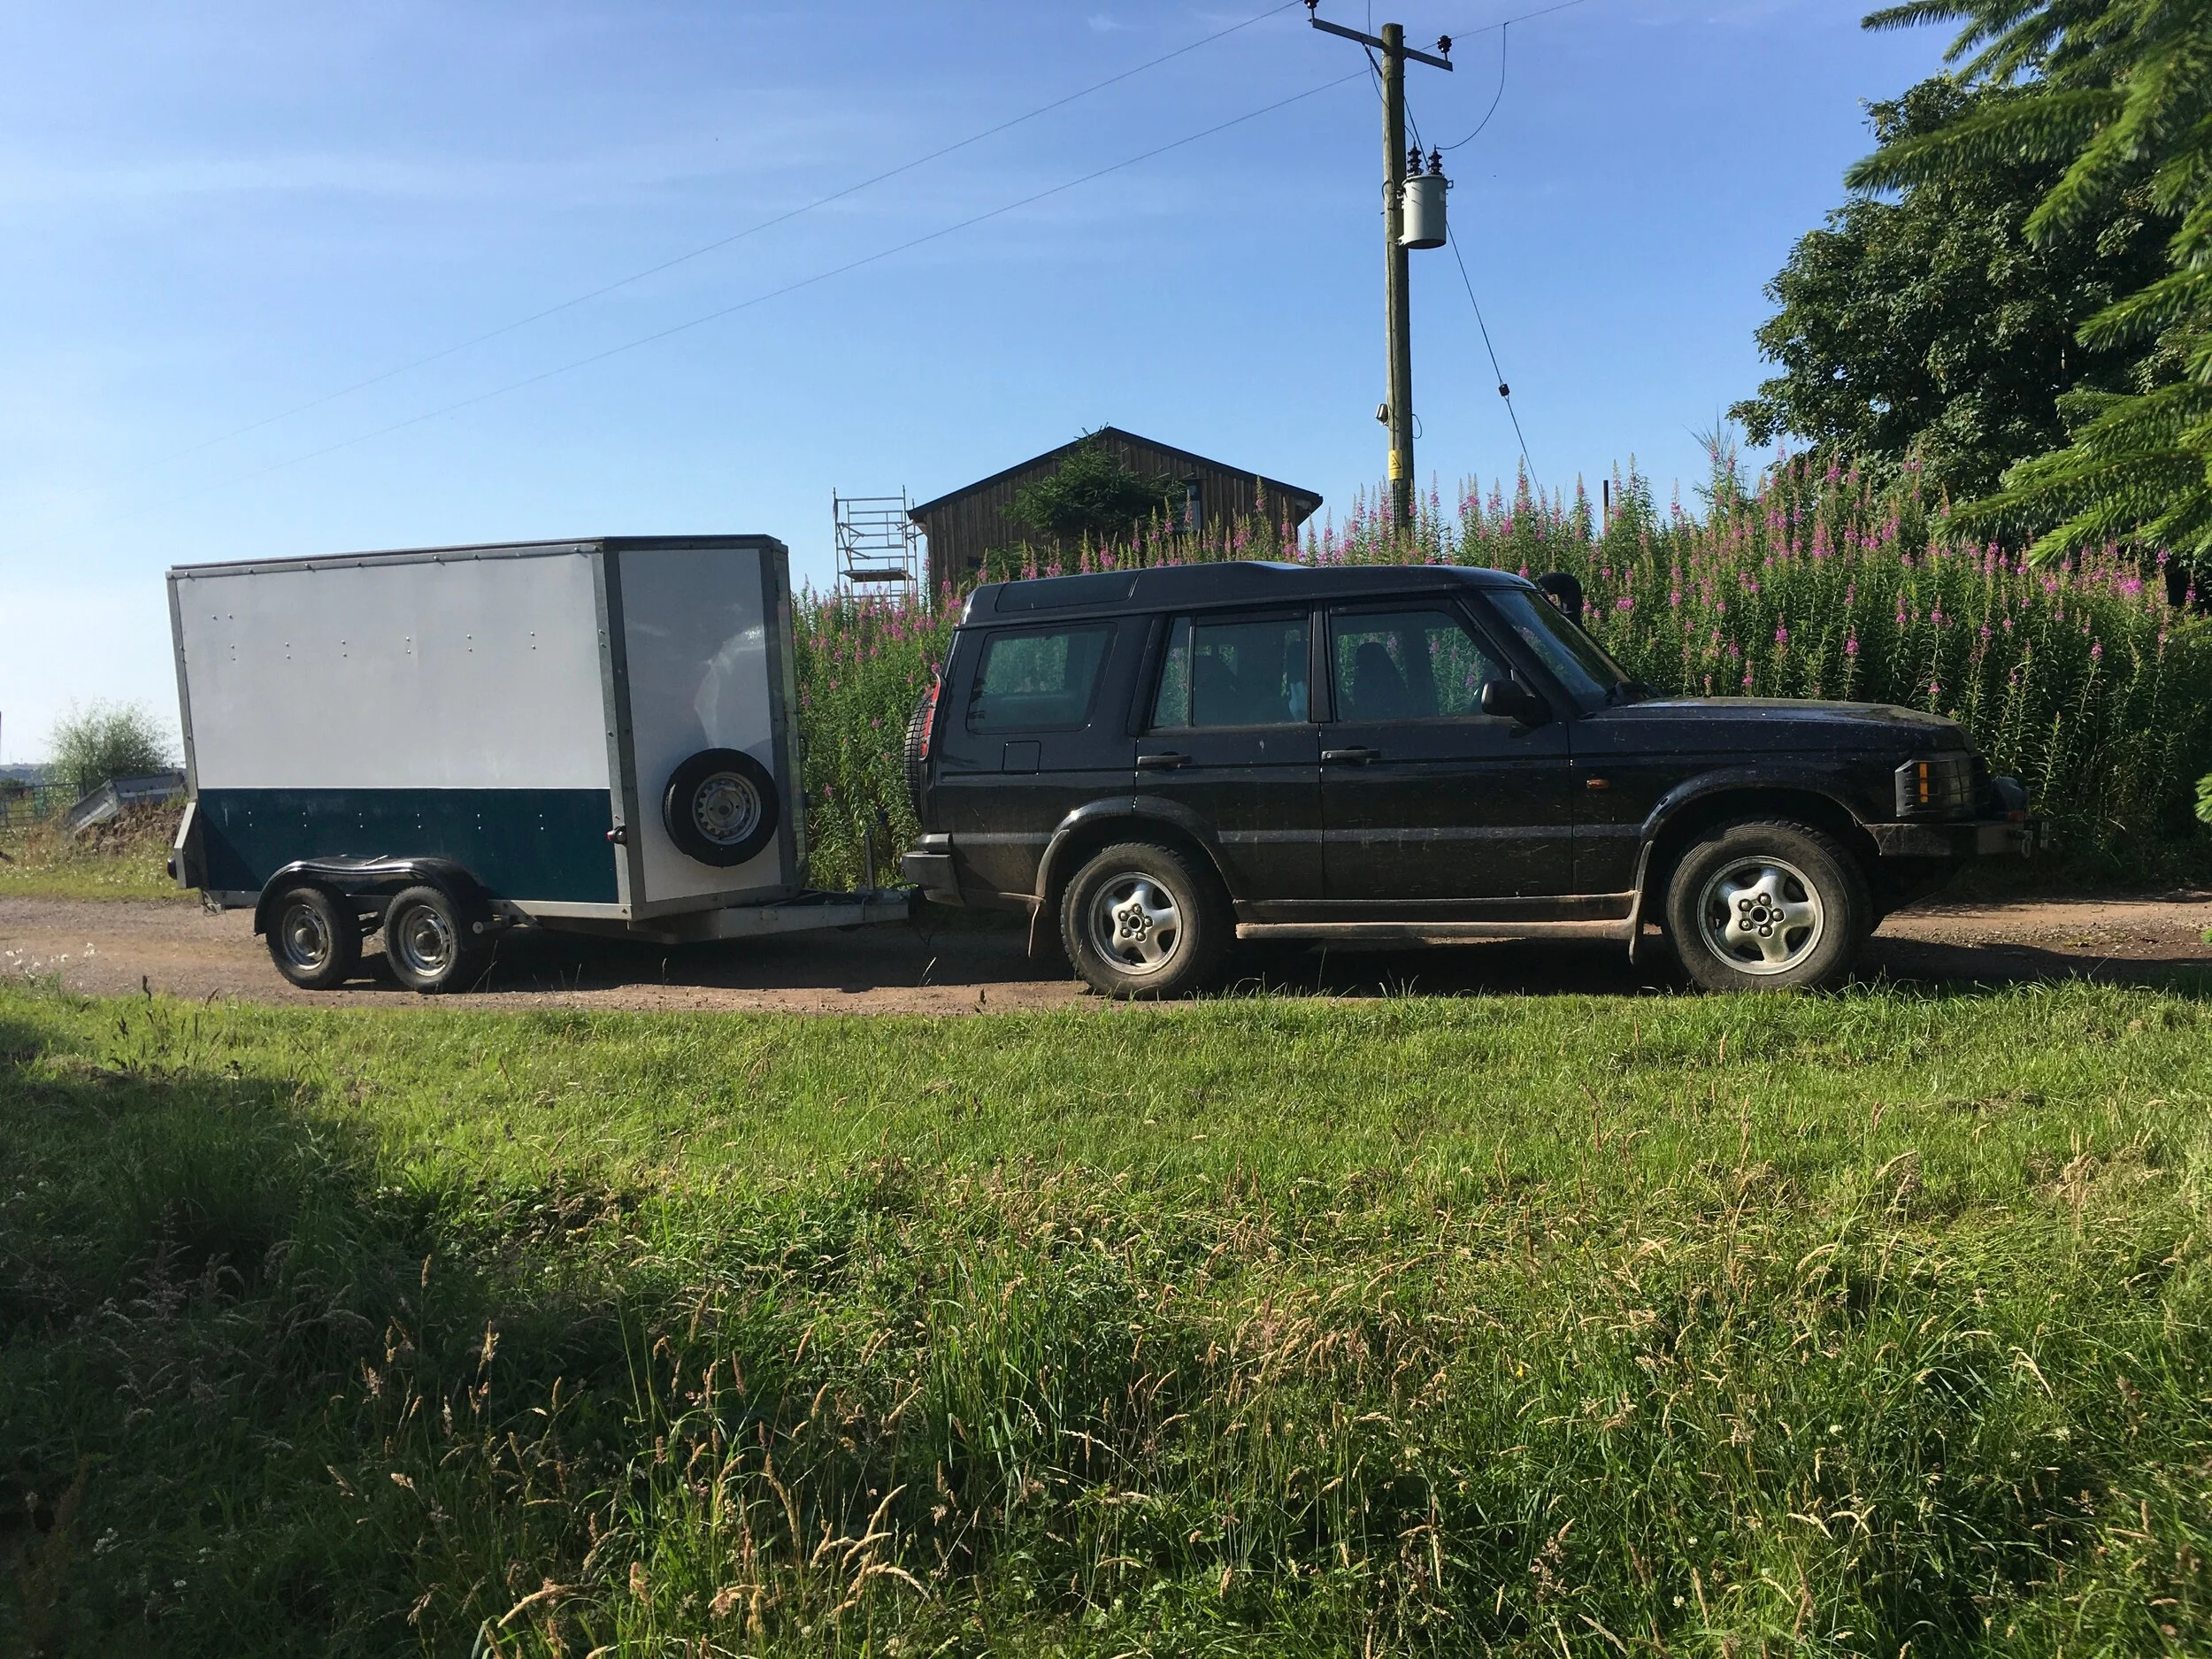
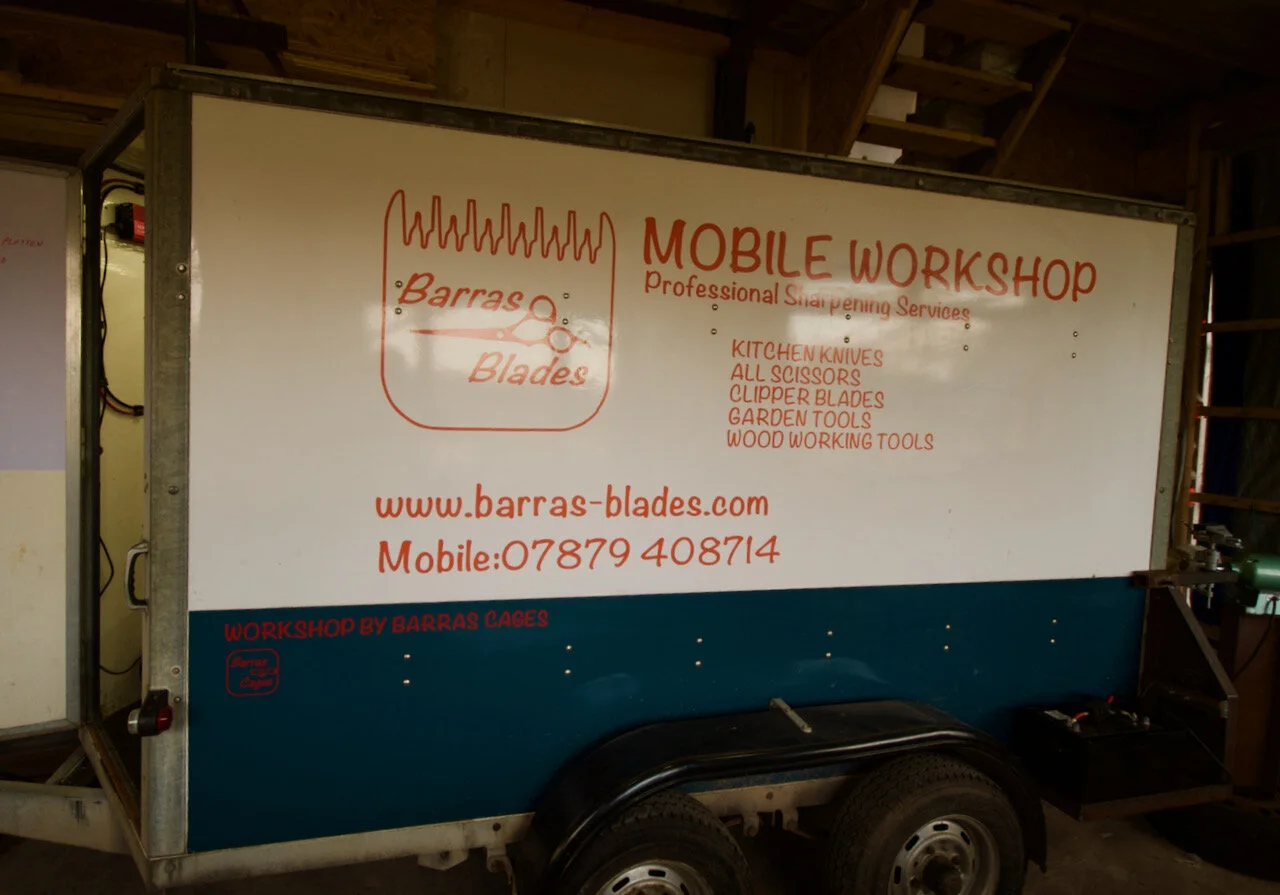
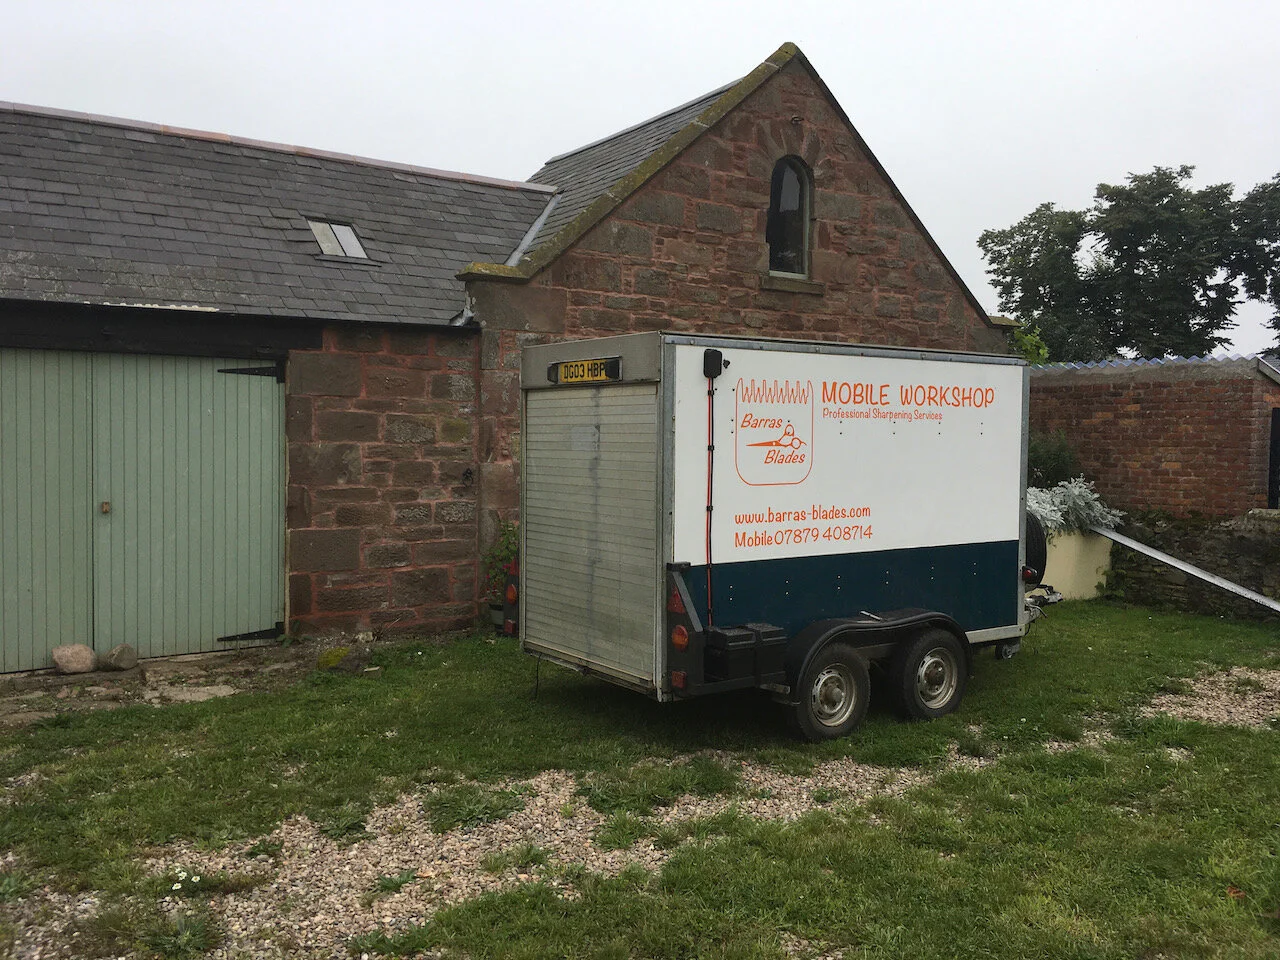
It was always part of the plan to take Barras blades on tour. Ideally it would have been a dedicated van but the prices of vans have as of summer 2021 been frankly silly. A reasonably priced box trailer turned up locally so the purchase was made.
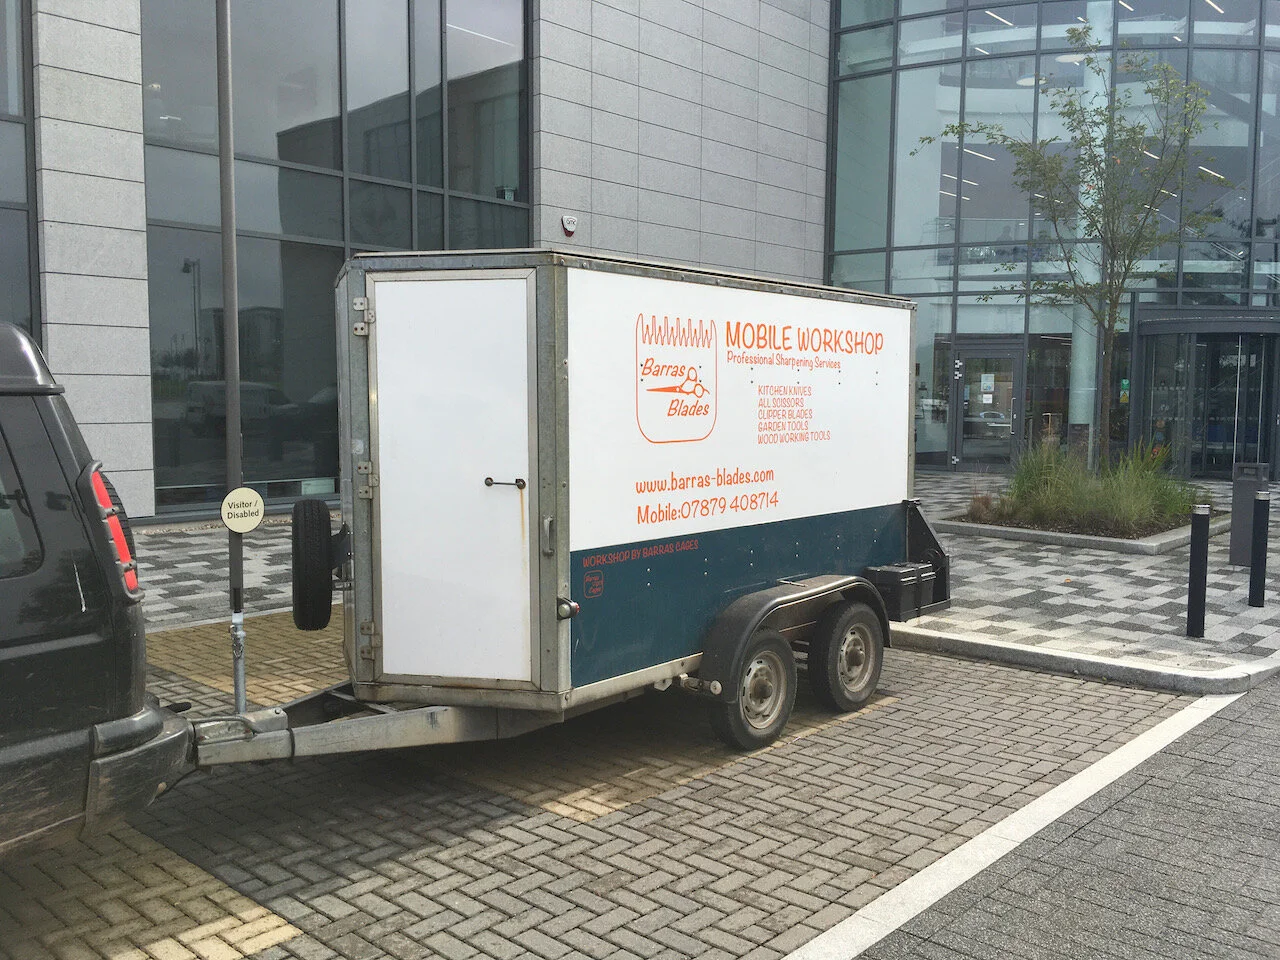
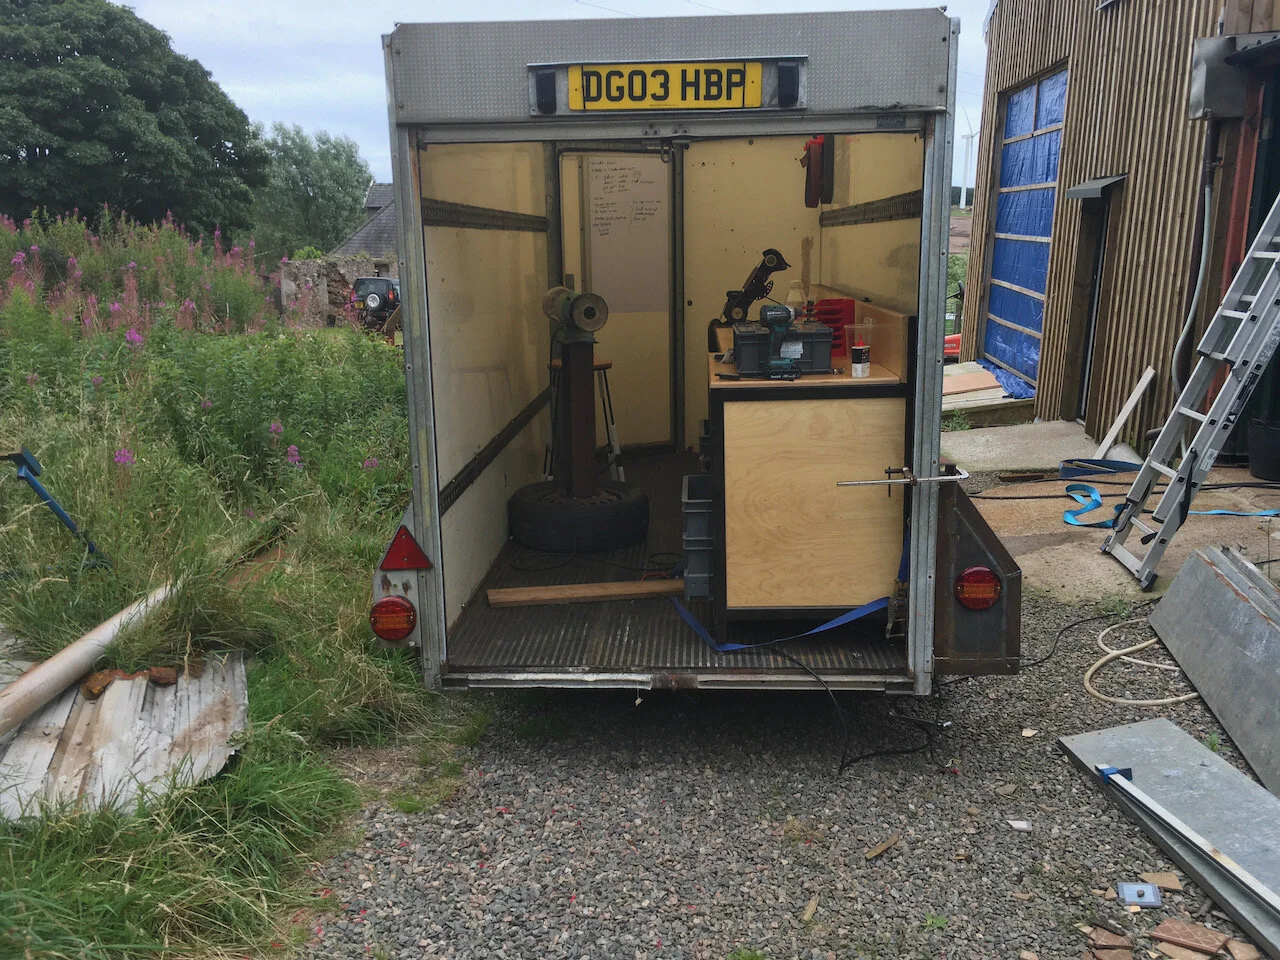
Just after purchase with the decals removed
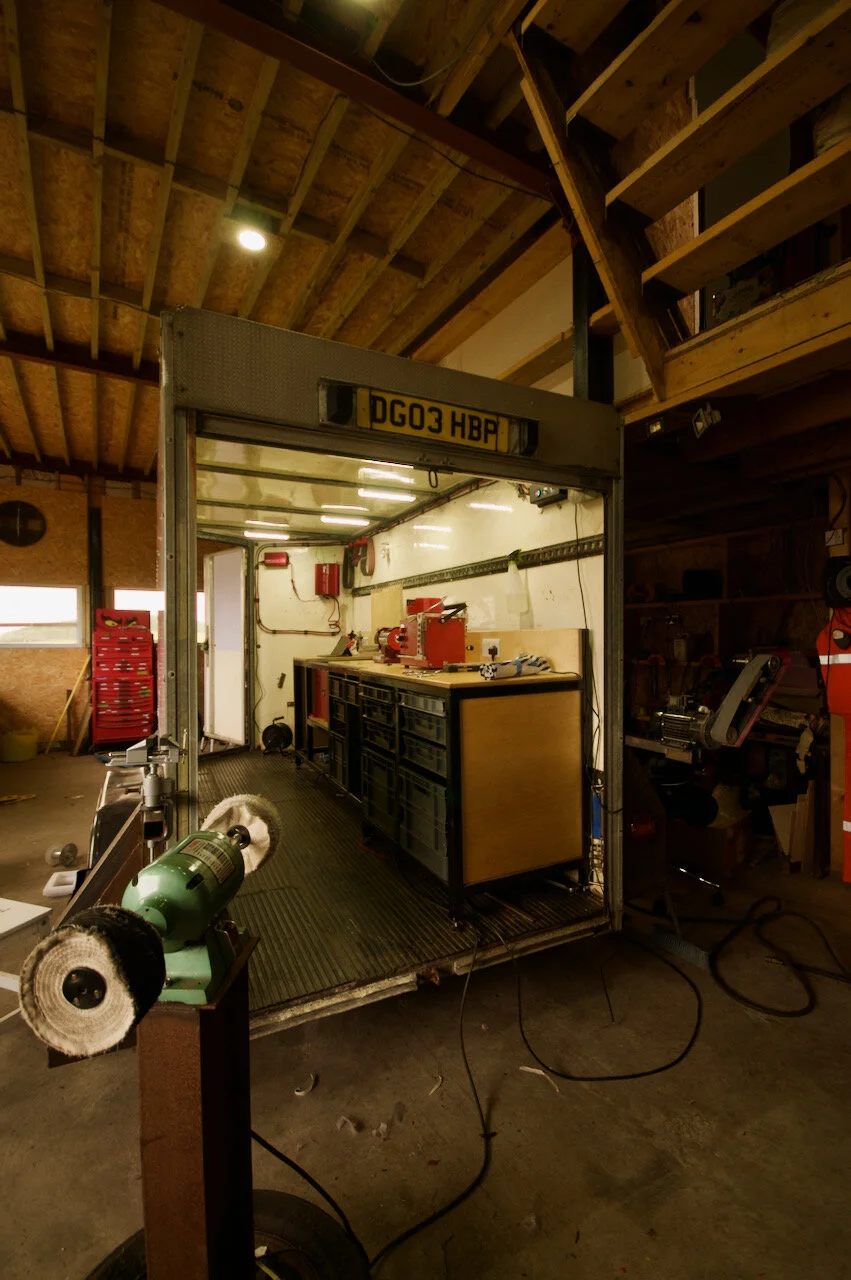
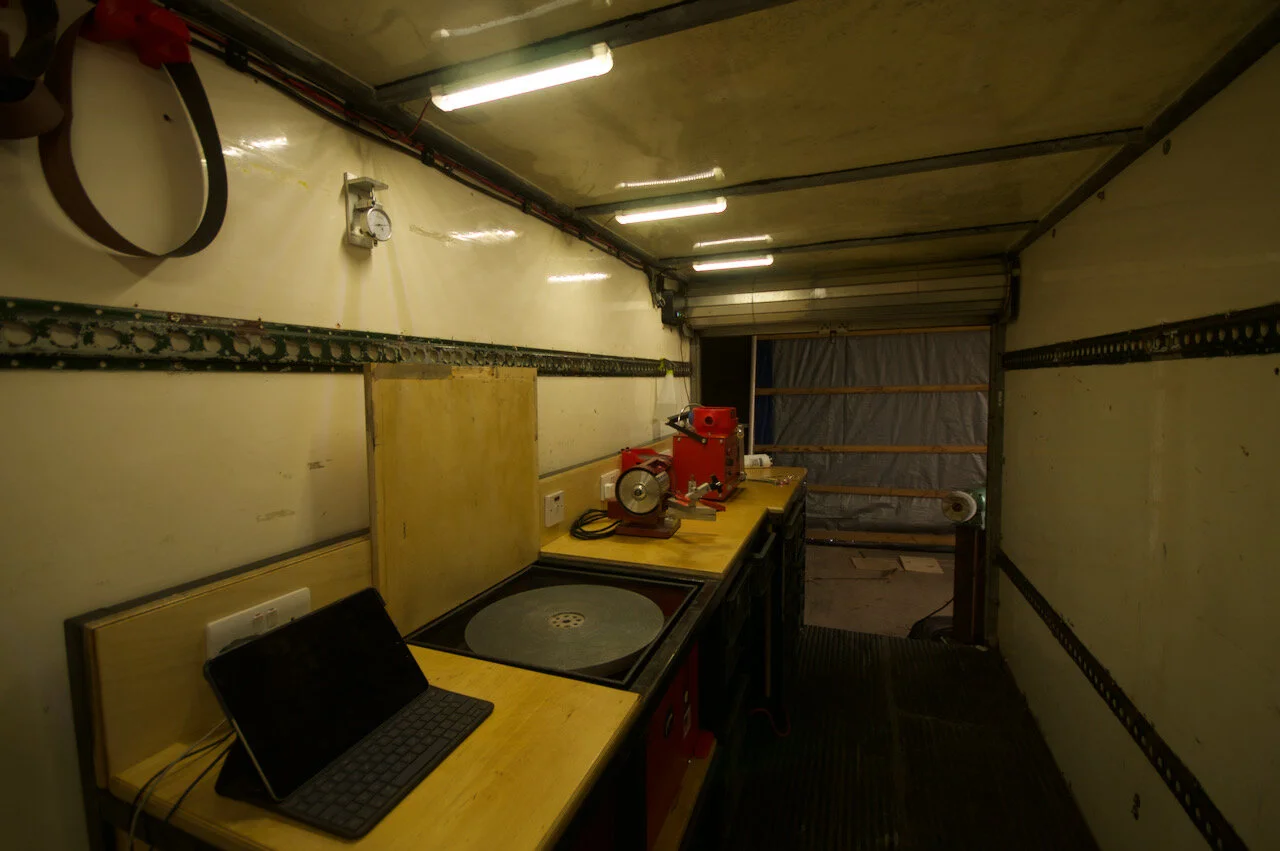
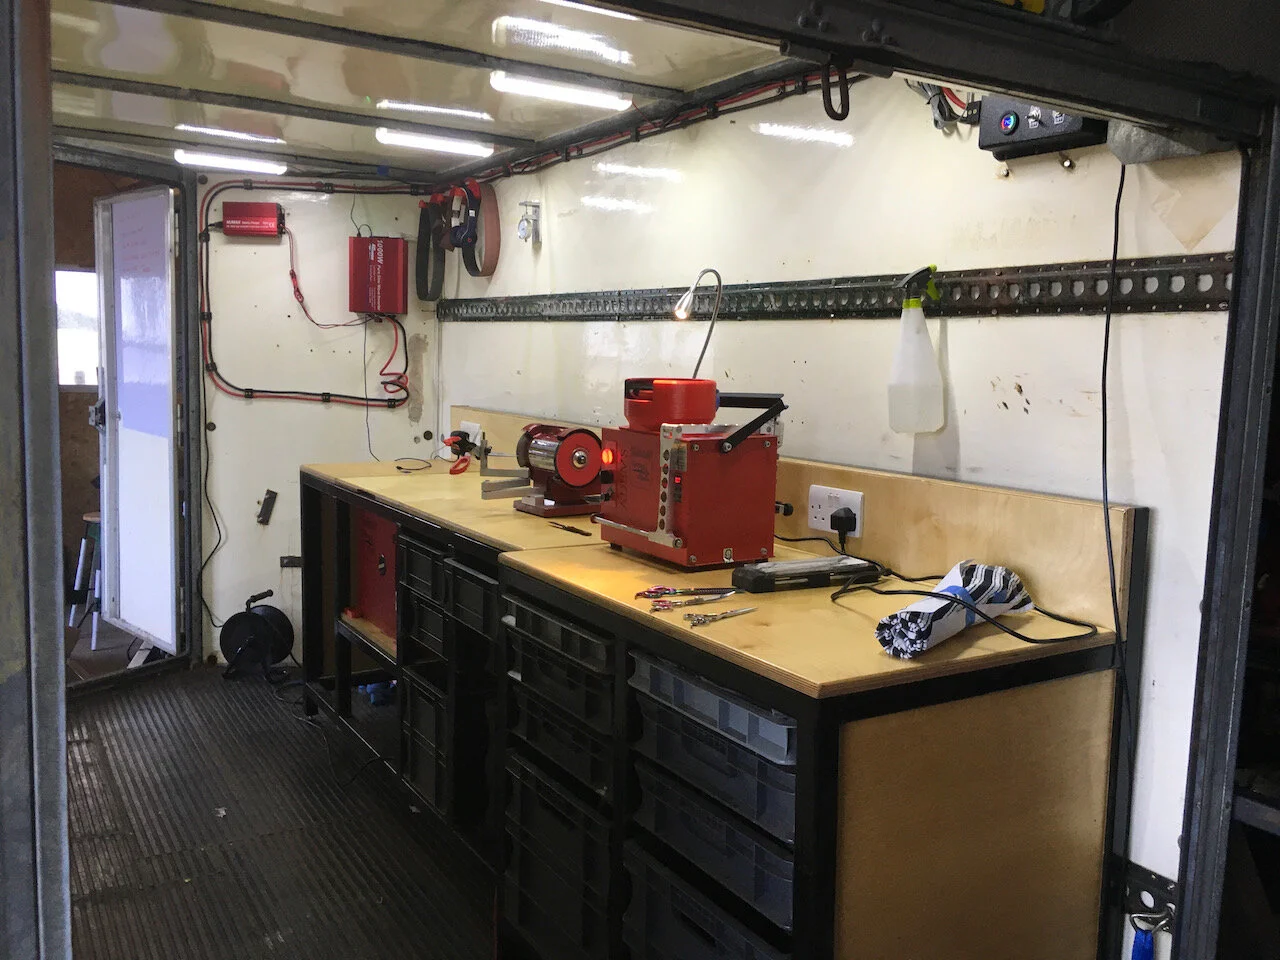
As mobile had always been part of the plan I had already built a set of benches which were quite compact. MORE HERE. These fitted nicely in the trailer so that was a solid base to work from.


Though two benches in a trailer do not make a mobile workshop. Ideally the entire workshop would be powered from a couple of batteries ultimately with solar panels charging them. So a list of improvements was made as well as various problems being found.
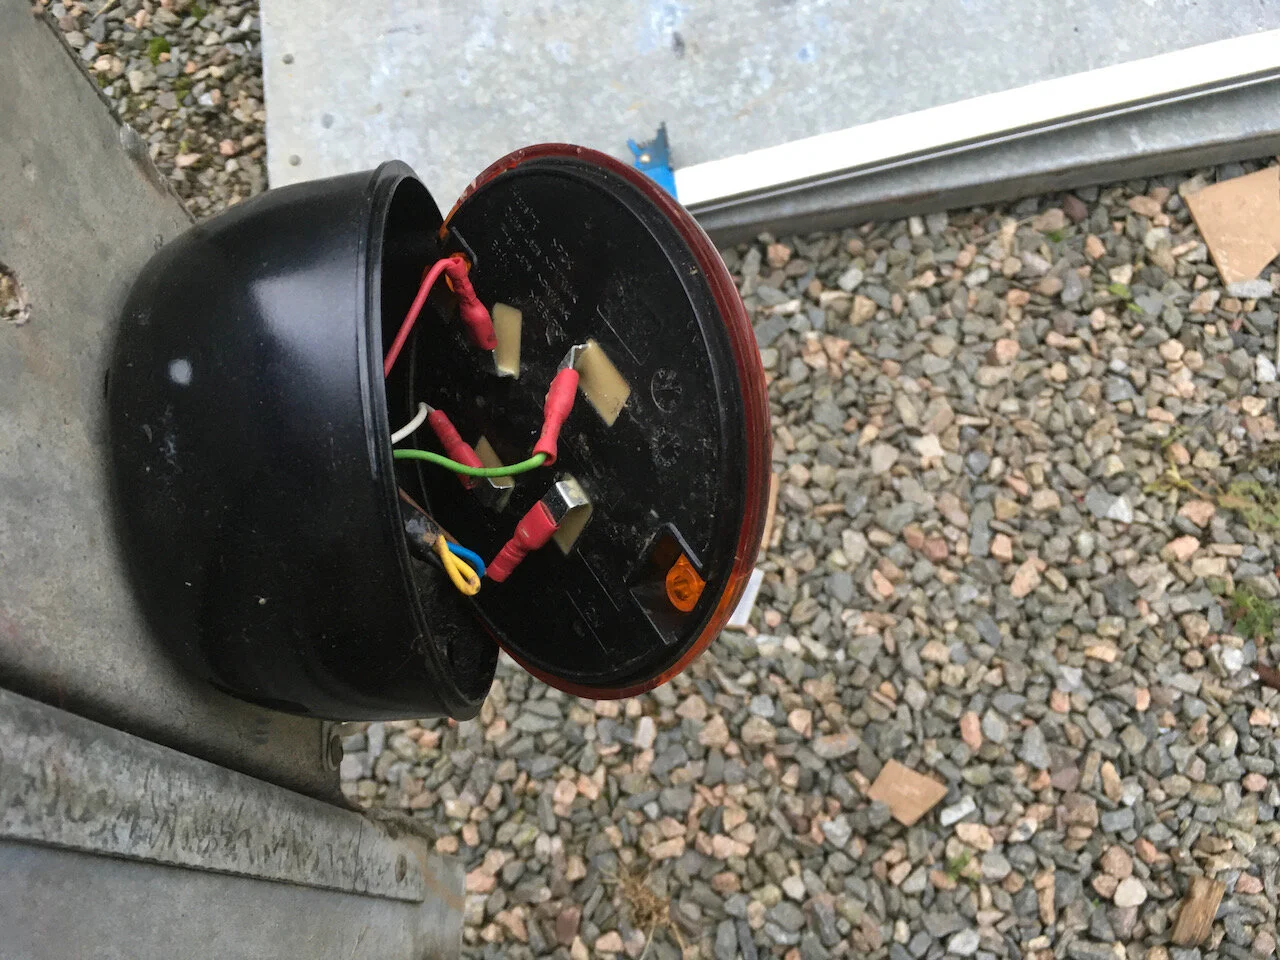
Fix the badly installed LED brake/turn lights
Add a fog light
Find a battery storage solution
Purchase and install an inverter etc
Add decals
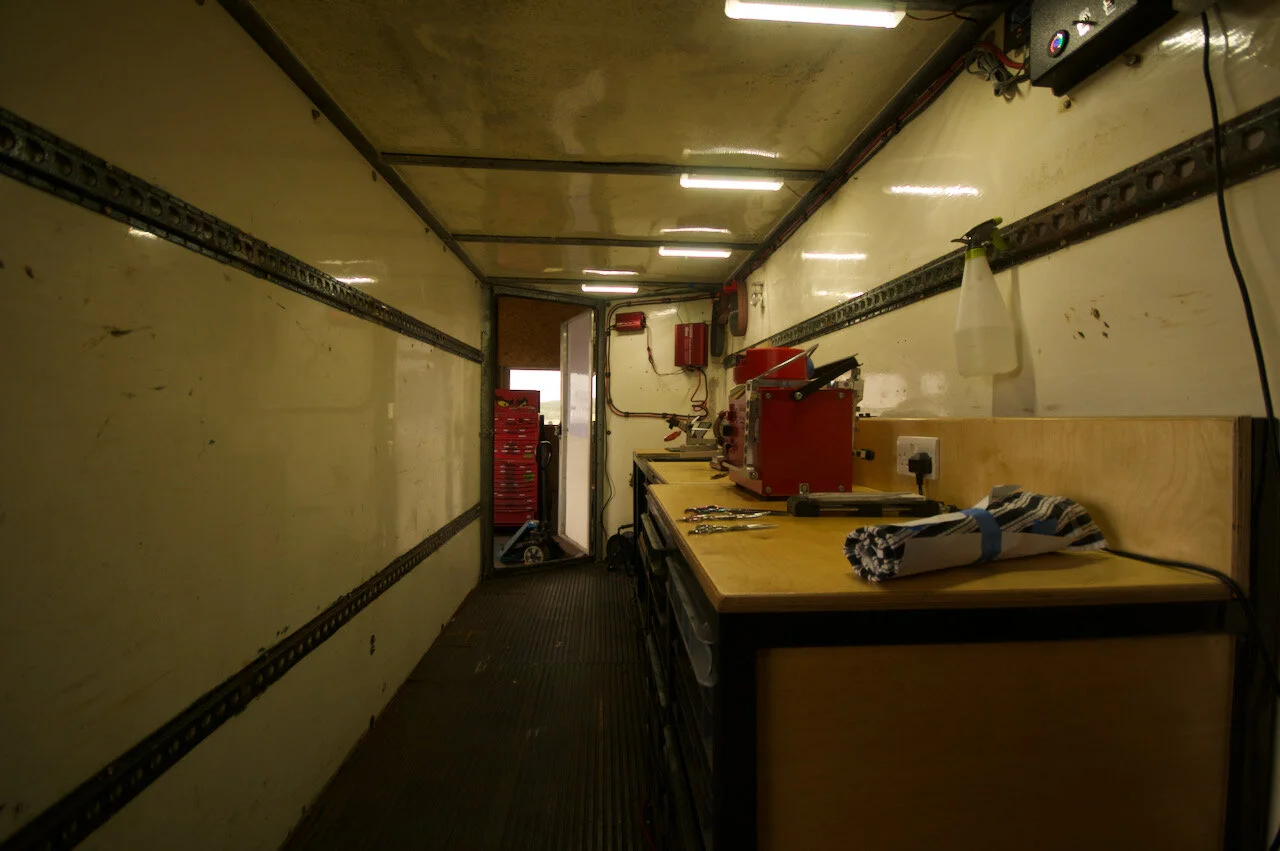
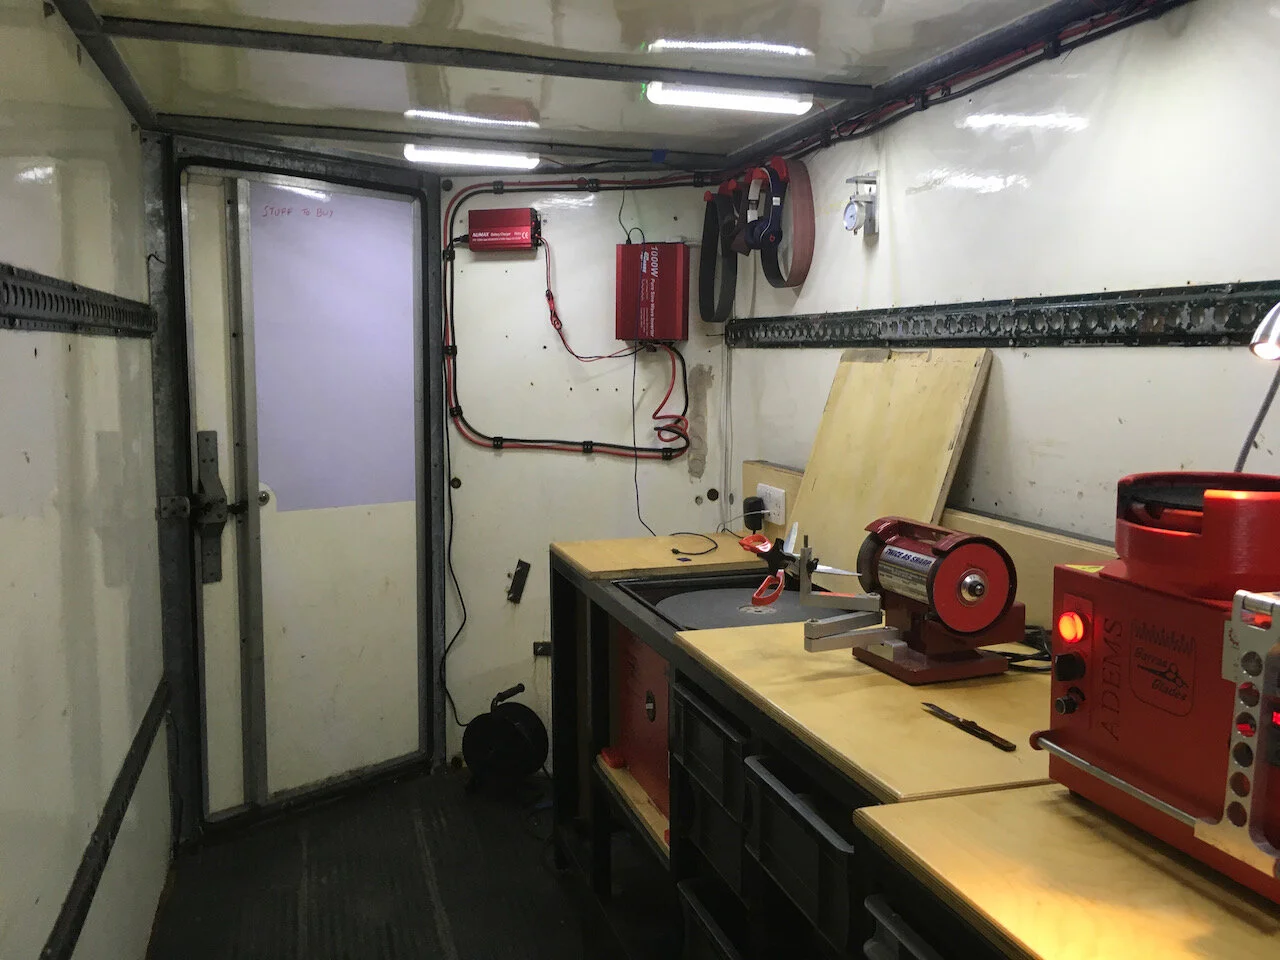
Add internal lighting
For the battery storage solution there is a big dead area externally behind the wheels where a pair of batteries could be installed. This also gave me a chance to improve upon the mounts for the turn lights etc. A set of brackets where made for either side. Also stealing a little bit of inspiration from our American friends who have receiver hitches on their pickups which is a 2 inch box section to which they can fit a towbar or other stuff to I added a 50mm box section to each bracket.

American receiver hitch vise

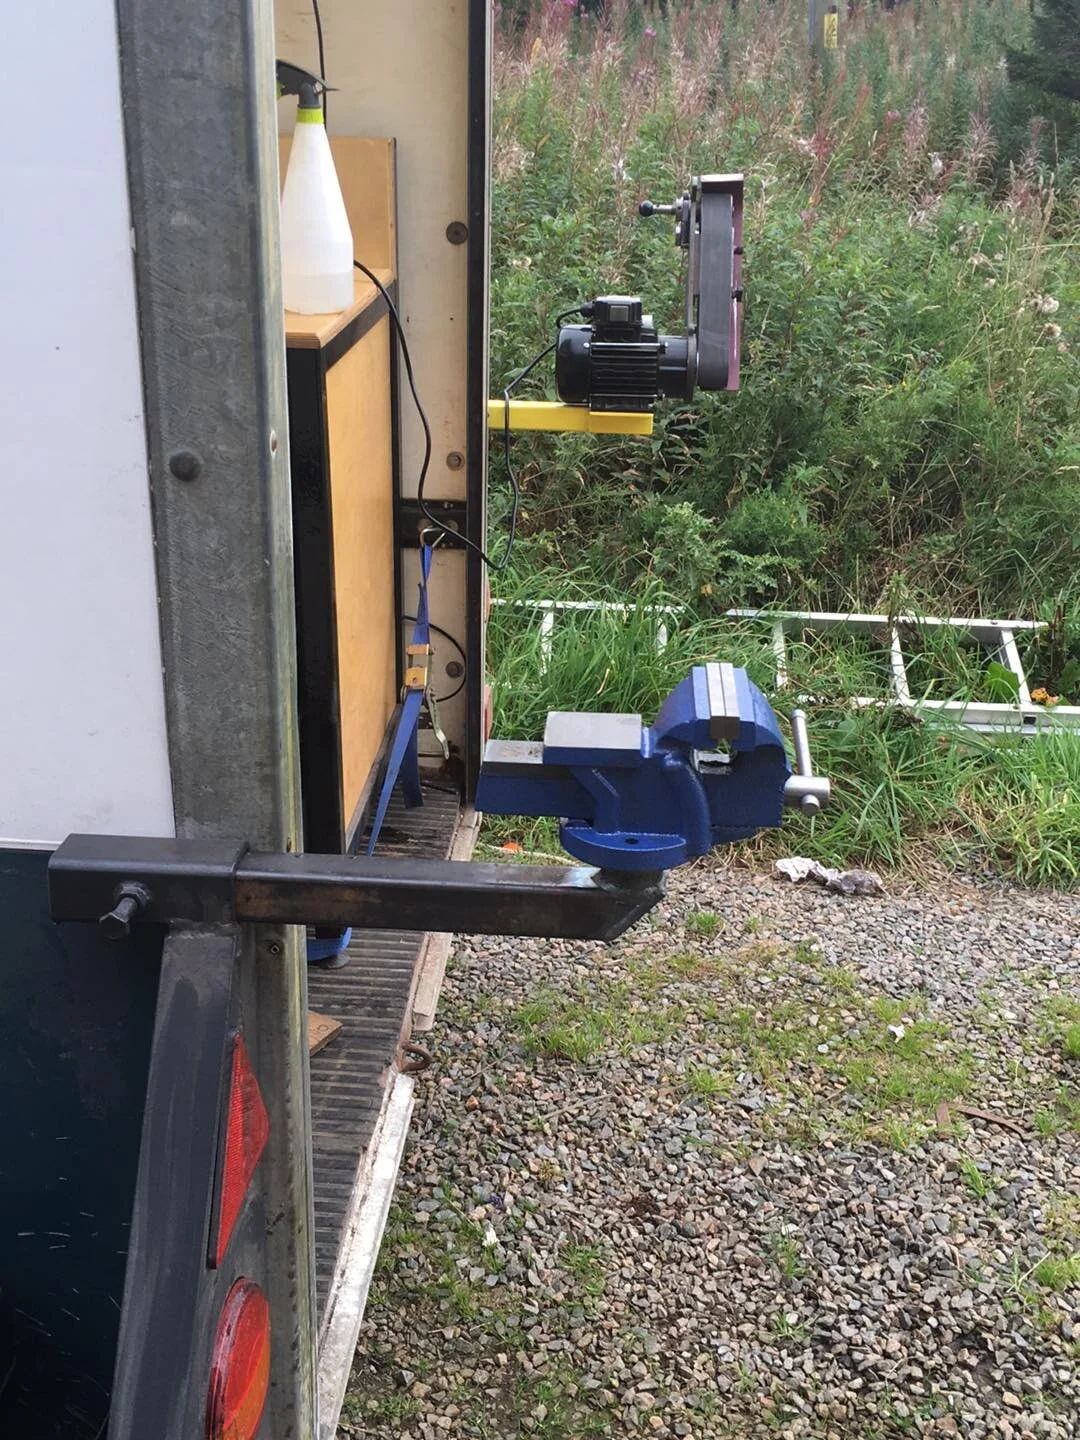
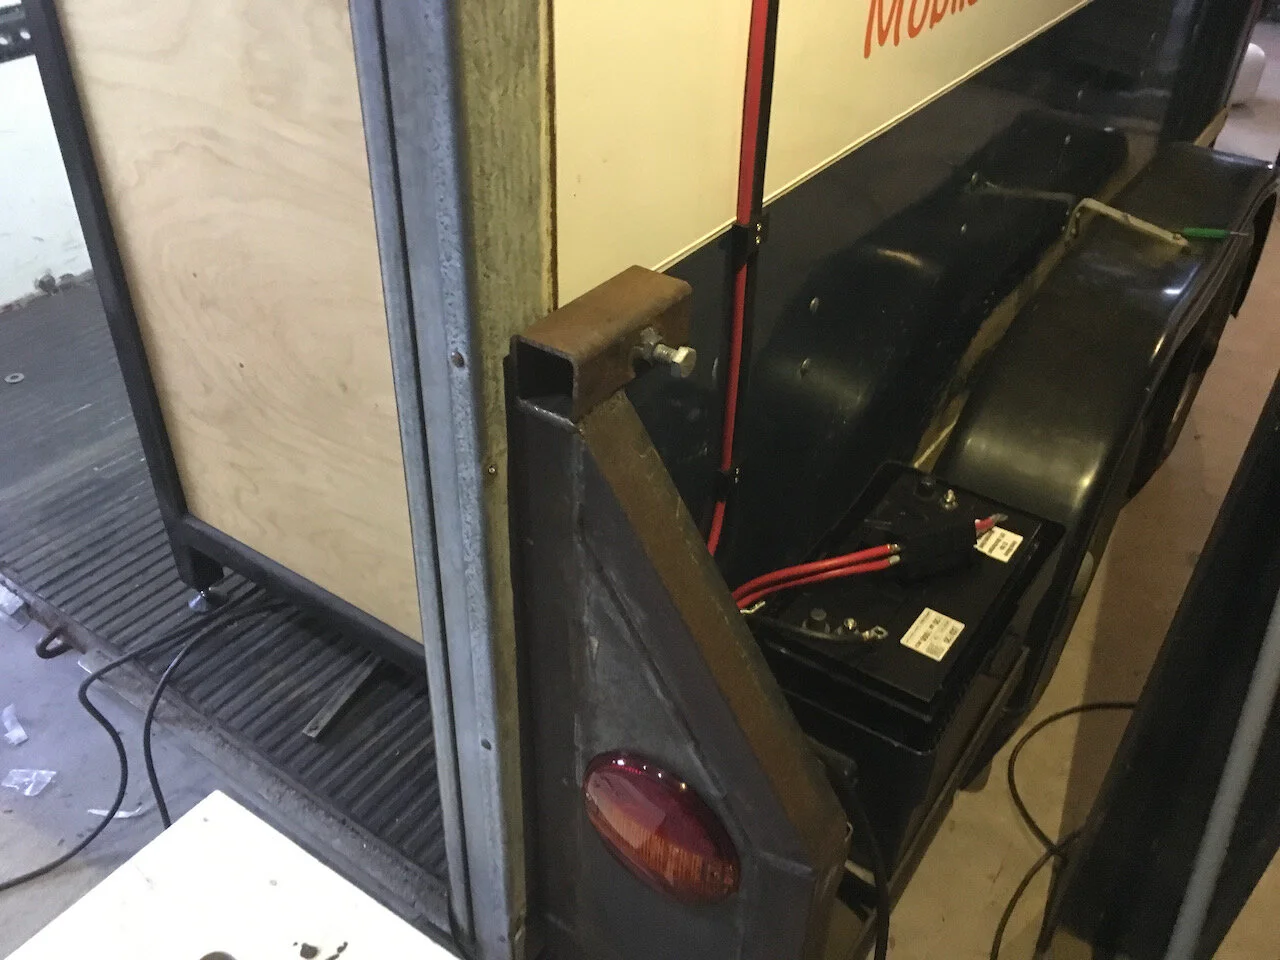
The front view of the new side brackets showing the battery box, the recessed LED lights and the 50mm box section

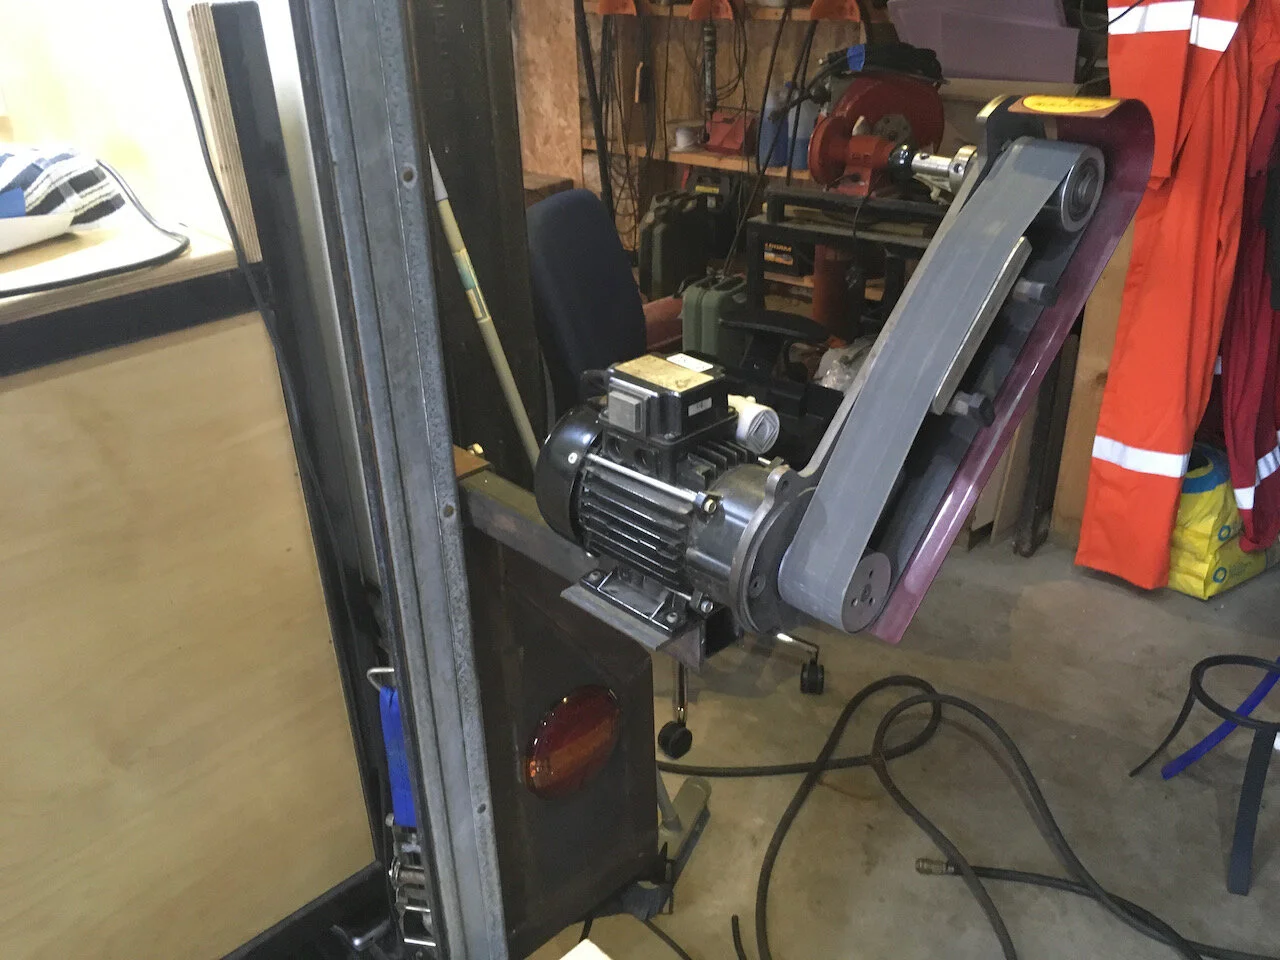
View from the rear showing the flush mounted LED lights as well as a temporary vice. You can also see the frame which holds the battery boxes in positions

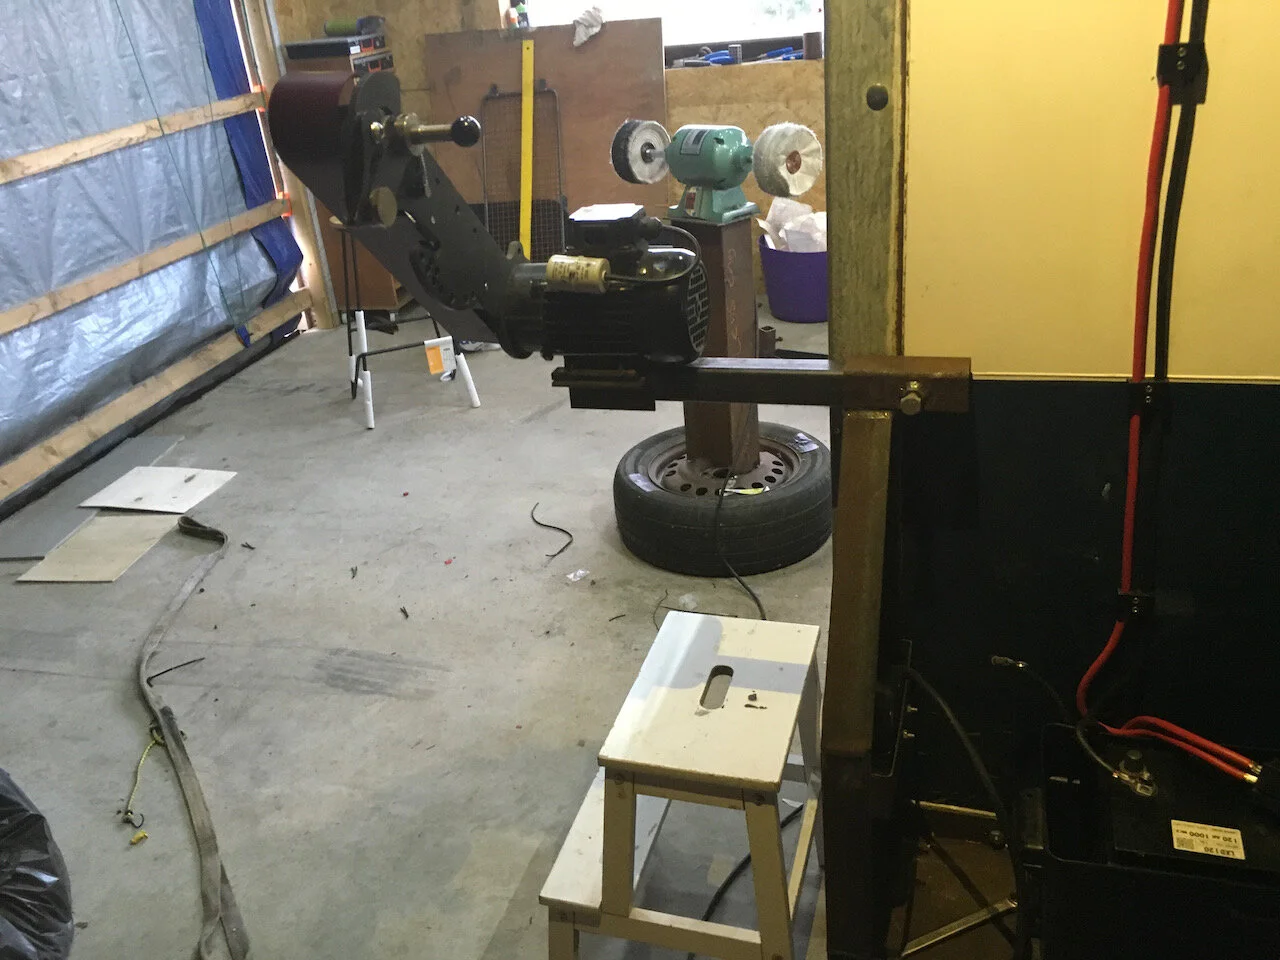
How i normally use these points. With a belt grinder in one side and a small vice on the other.
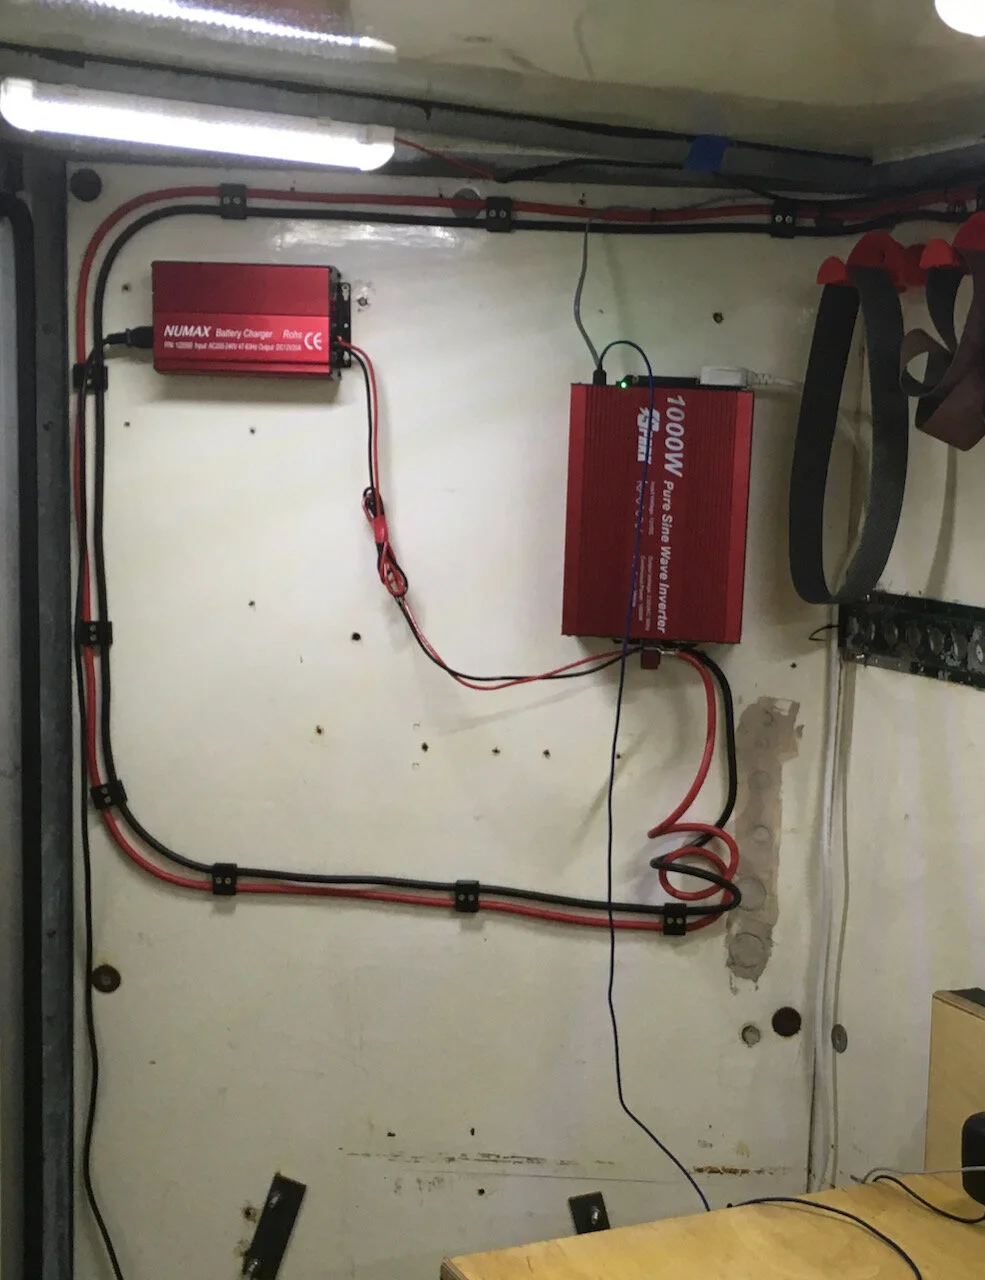
With the battery mounts sorted out it is then onto sorting out the electrics. A while back i had started using a power monitor on the supply which had given me a rough idea n how much power is being drawn by each machine. Based on this i decided upon using 2 X 120aH (amp hour)lead acid batteries feeding into a 1000W pure sine wave inverter. The batteries would then be recharged by a 20amp 12V charger. This was driven in a large part by budget so expect upgrades in the future.
The 2x 120aH batteries you would expect give you 240aH but as lead acid batteries are a wee bit old tech you can only get about 50% out of them before you run the risk of damage to the battery. But 120ah at 12.2V gives you about 1.4 kilowatt hours Which is a kilowatt (1000watts) for 1.4hours. As the machinery i am using is considerably smaller than 1000W and is used intermittently i expect to get about 5 to 6 hours of work out of this. Eventually i will be upgrading to lithium iron phosphate (LiFePO) which are way higher performance but as HOW MUCH!!!
For the inverter which takes 12V DC and turns it into 240V AC i went for a cheapo no brand Chinese model due to budget constraints as well as seeing if i had under or oversized it. The 1000W model i had chosen allowed for a surge of 2000w. Seeing that everything currently in the trailer is either a soft start or is quite small i can’t see me needing this amount of power.
The charger is a reasonably generic 20amp one which can wall mount. A few unexpected features include it giving a readout of how many amp hours that have gone into the batteries which gives me a good idea on how much power is used.
Once budget allows i will be going for a couple of solar panels which should allow me to keep the batteries topped up by the power of the sun.

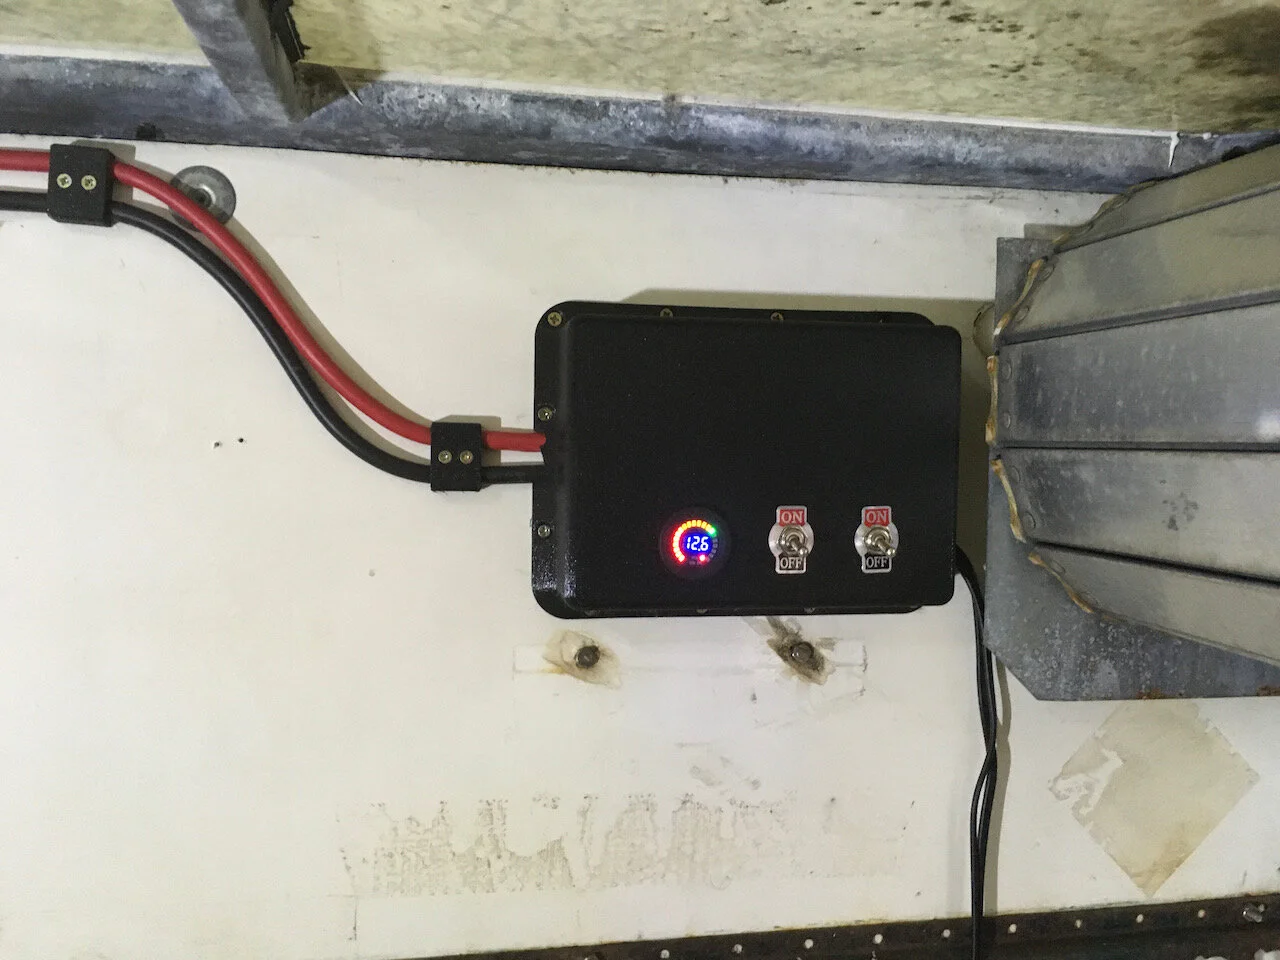
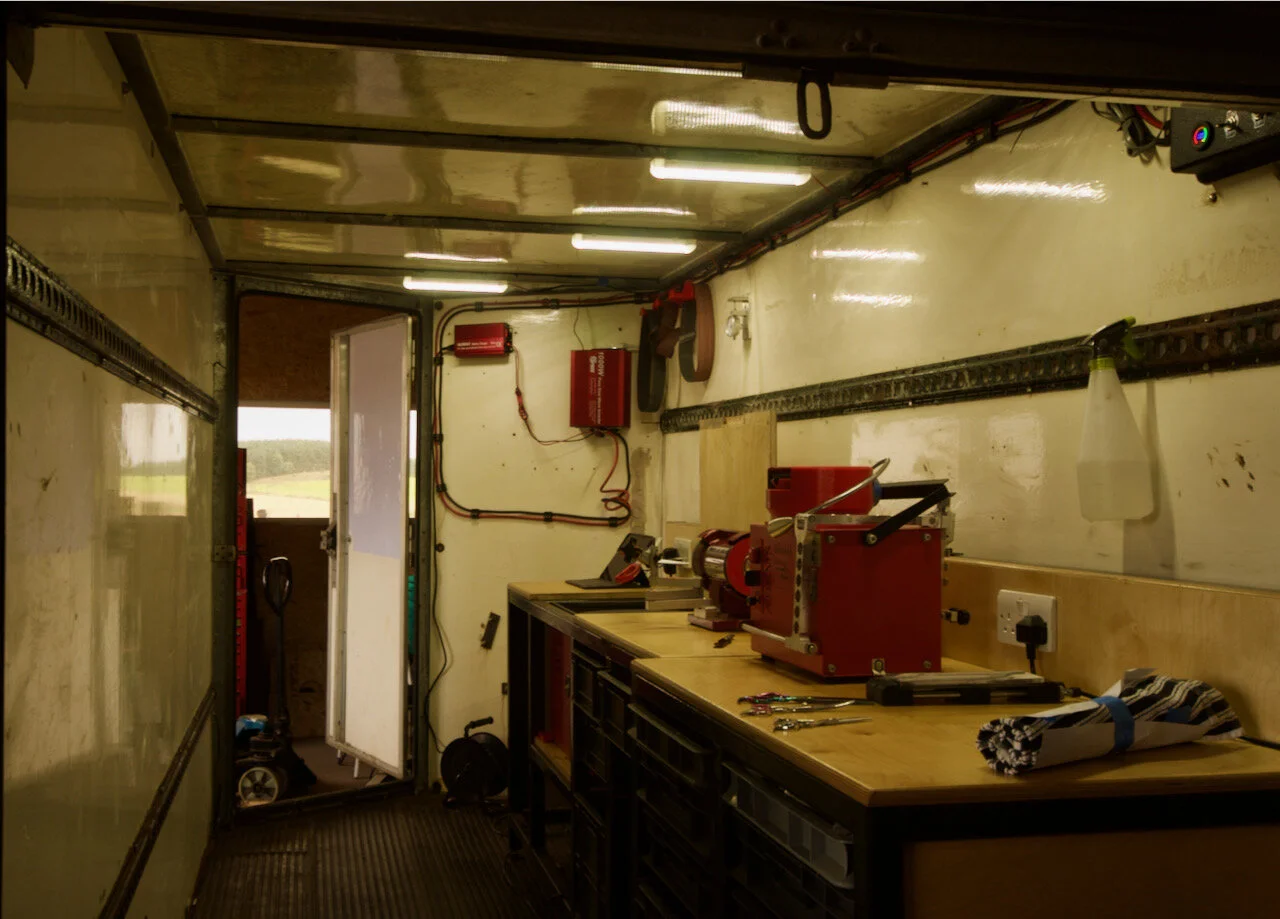
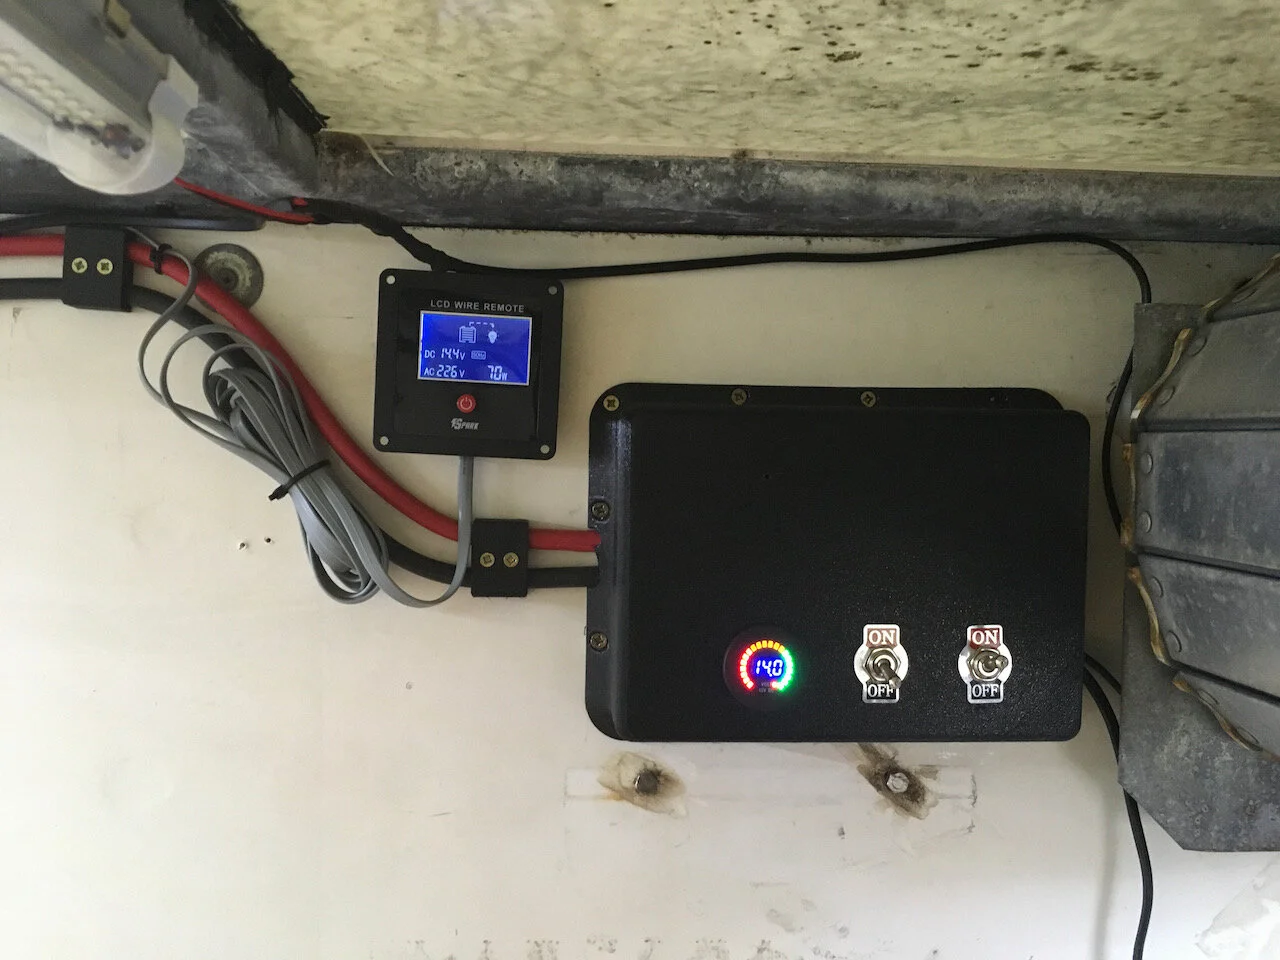
The main power leads come from one battery and under the floor and then up the side of the trailer into two bulkhead fittings. These are covered up by a 3D printed covered. Next to this is a battery isolator which lets me disconnect the battery bank from outside should i need to.

On the inside is another 3D printed cover which covers the back of the isolator as well as housing the switches for internal and external lights. There is a space for a voltmeter.
You can see hanging from a screw a remote control panel for the inverter
I didn’t know the inverter would come with a separate control panel so a Mk2 will be produced to hold this as well as an ammeter.

The wiring then comes along internally in the trailer to the inverter and battery charger. I’ve left the wiring a touch long to allow for future upgrades
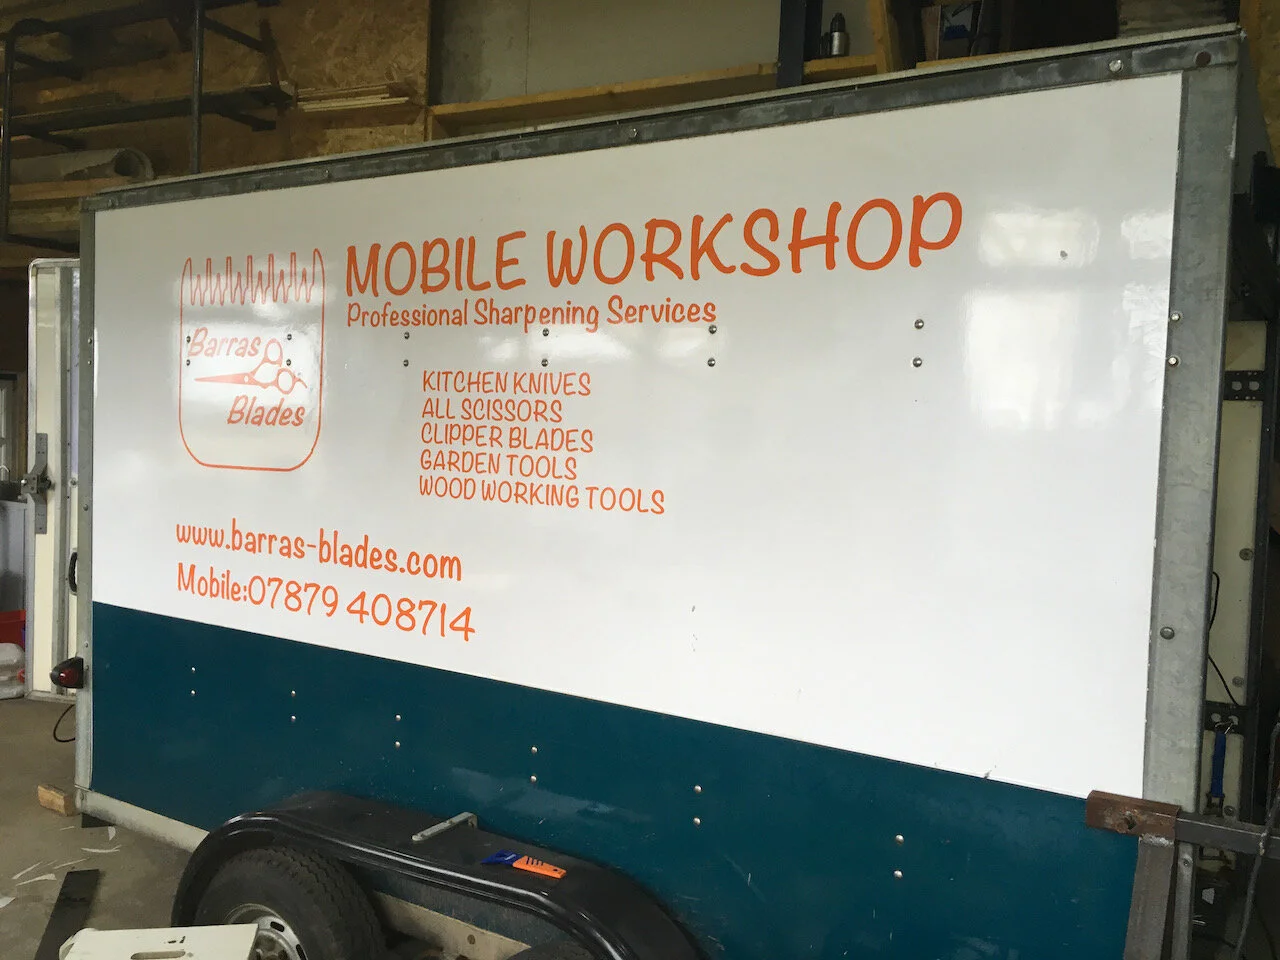
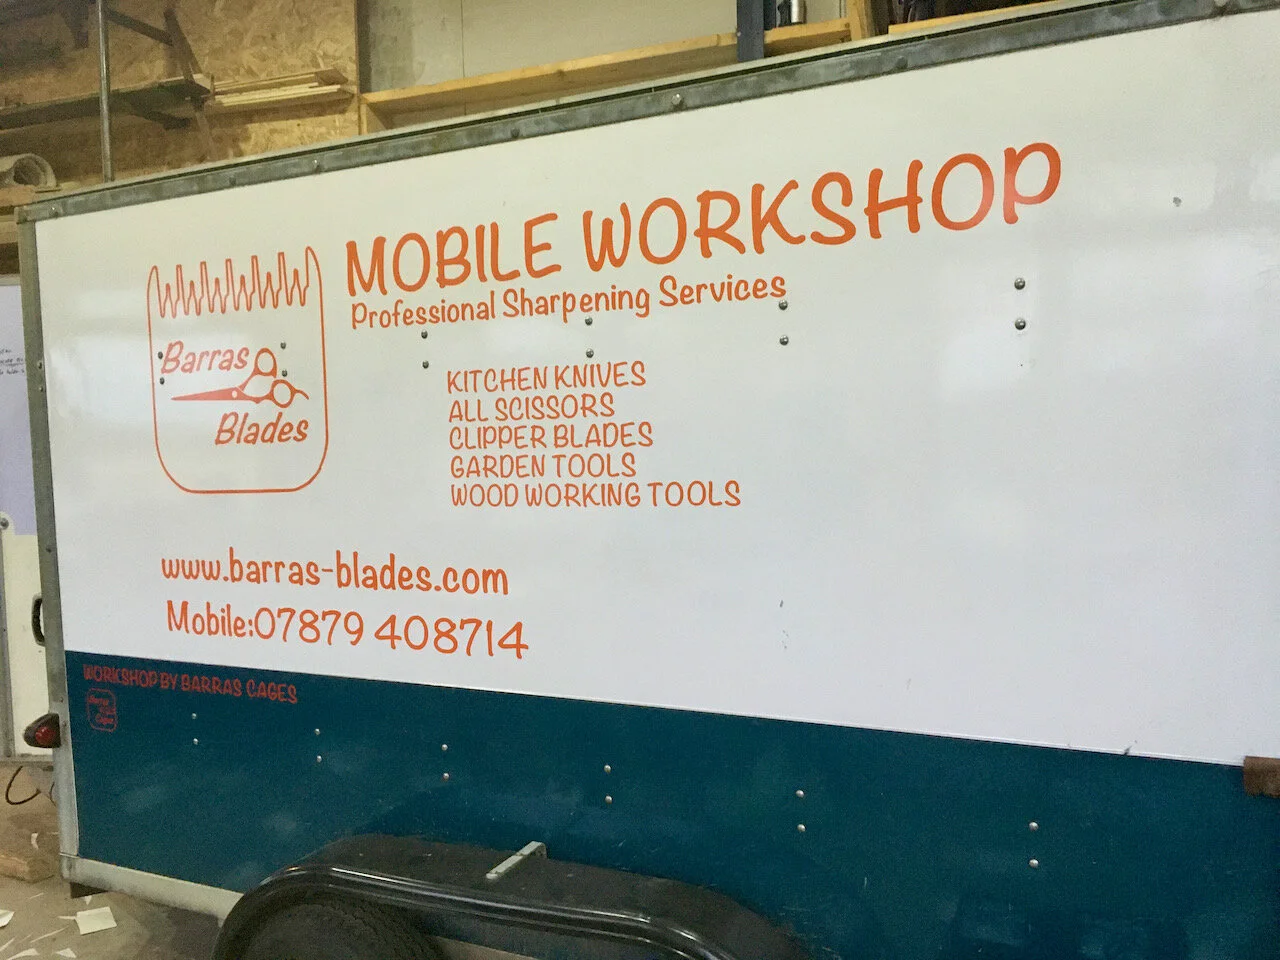
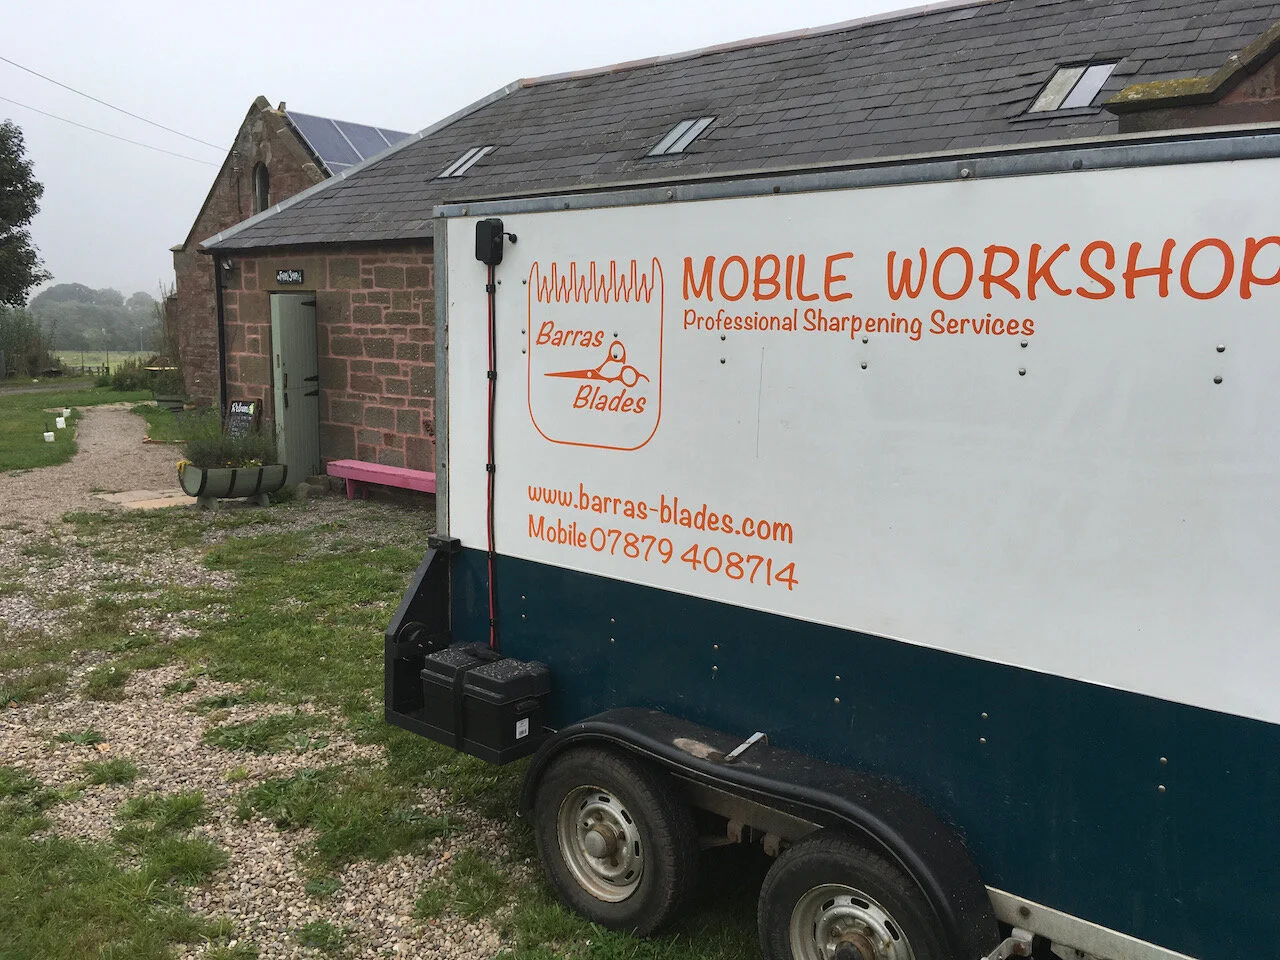
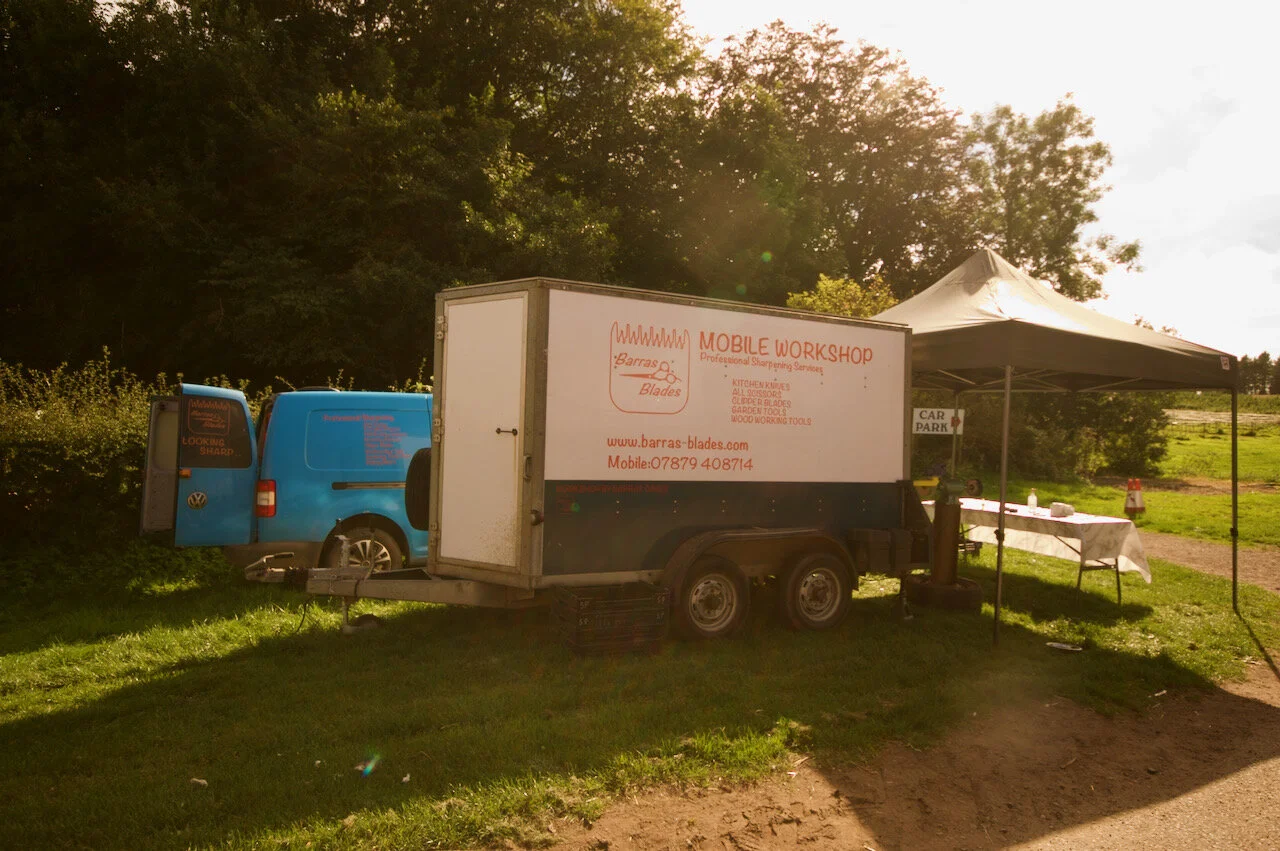
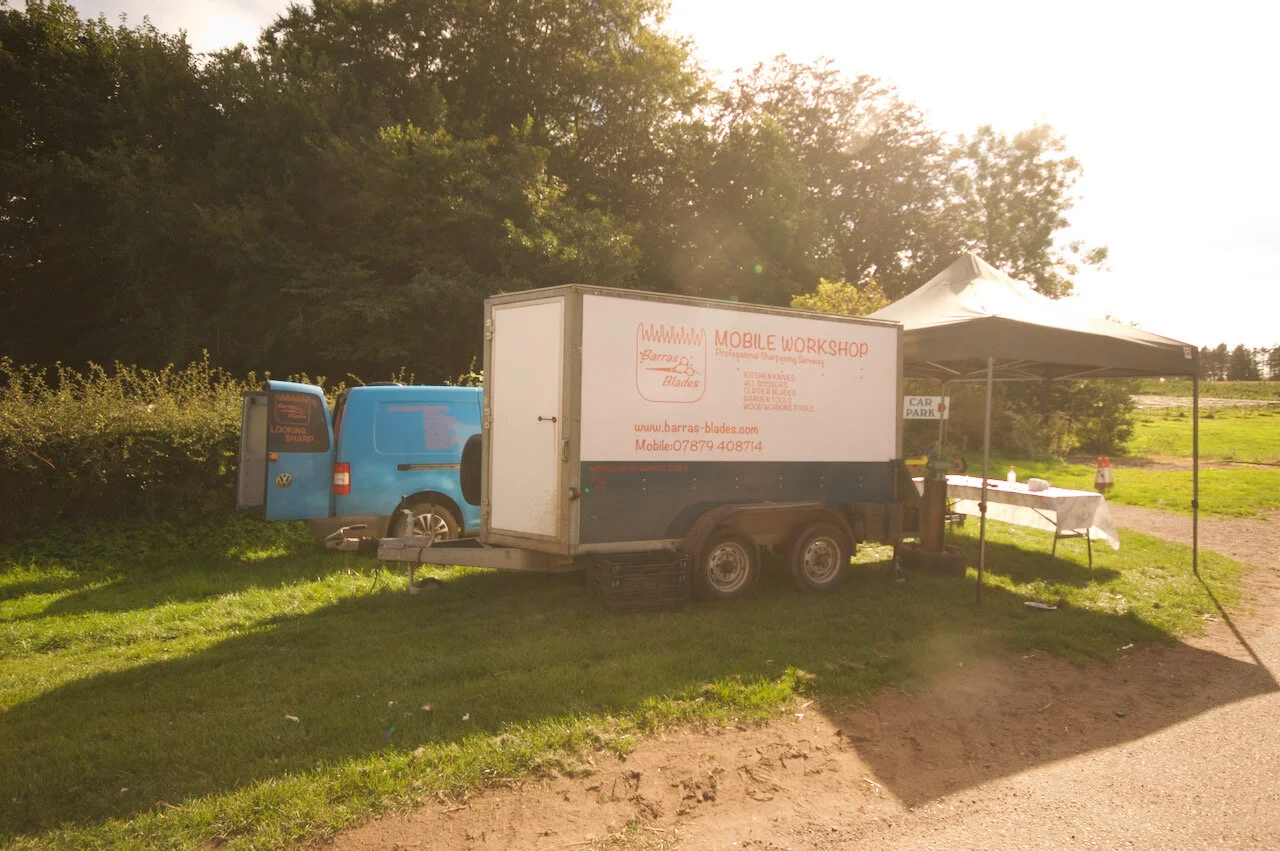
With the basics of the internals done as well as the power it was onto the graphics.
We have a silhouette cameo 4 which was purchased initially for doing the graphics on the van so this was pressed into service with a few lessons learnt from doing the van.

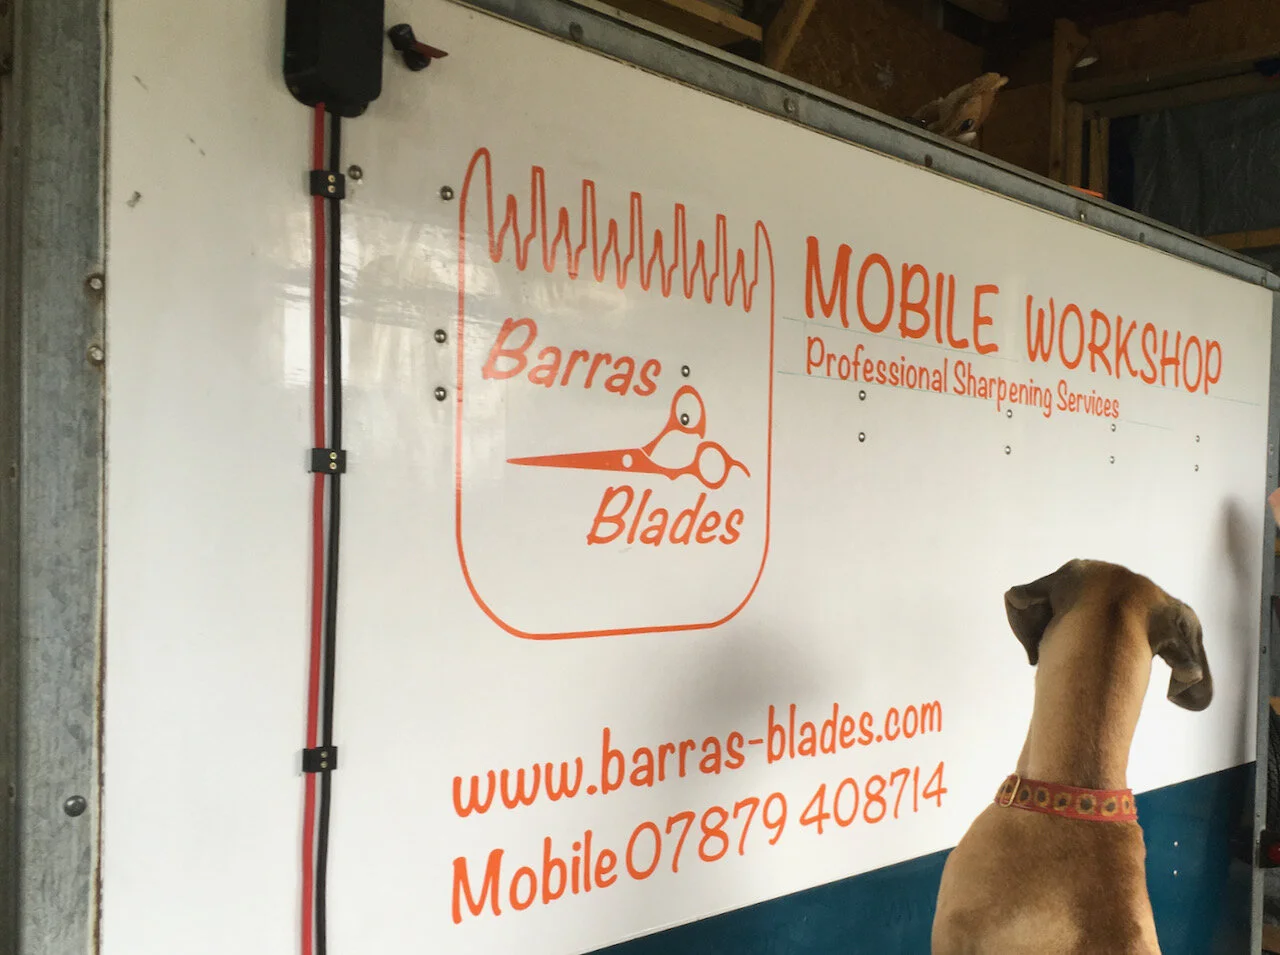
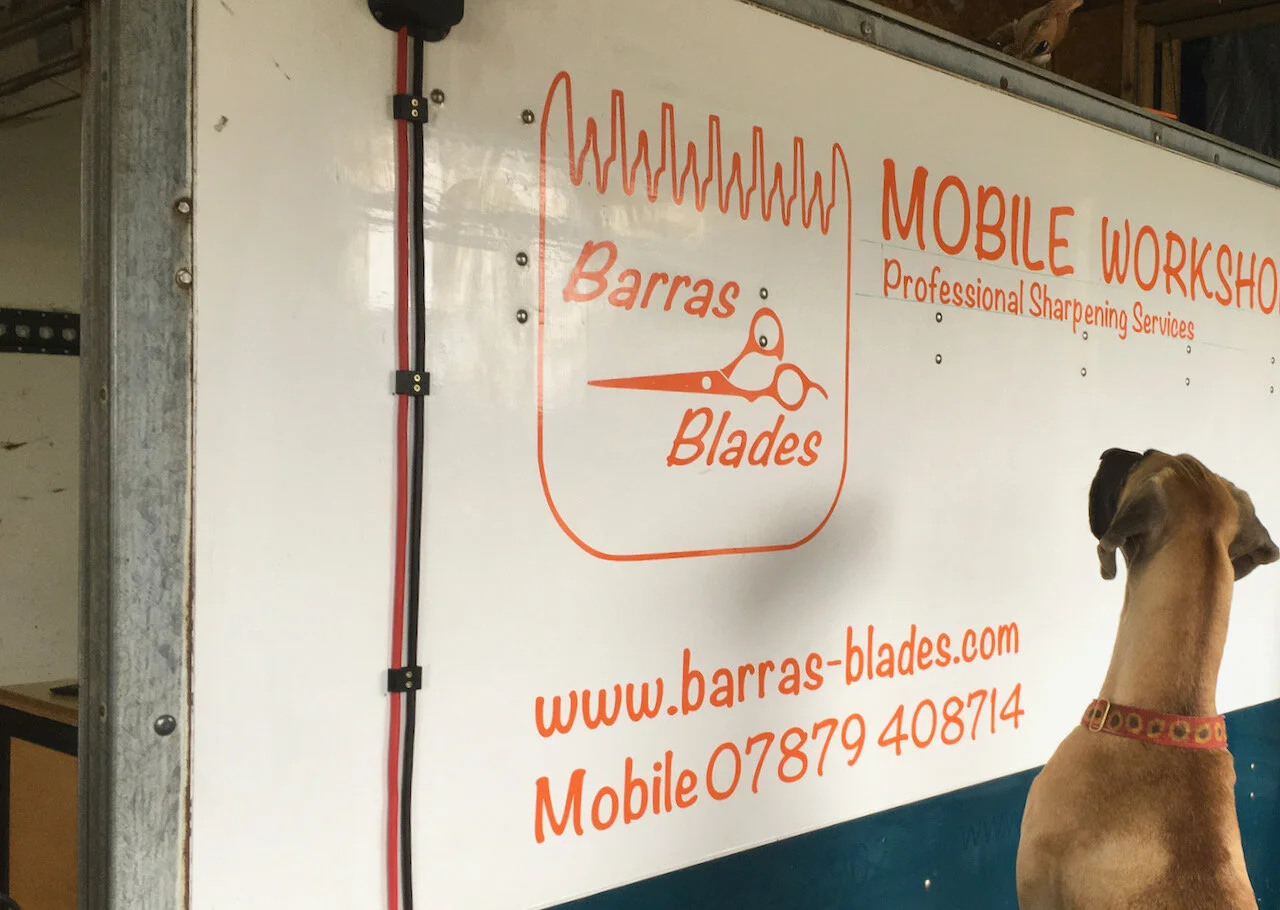
Poly inspecting work in progress on the graphics
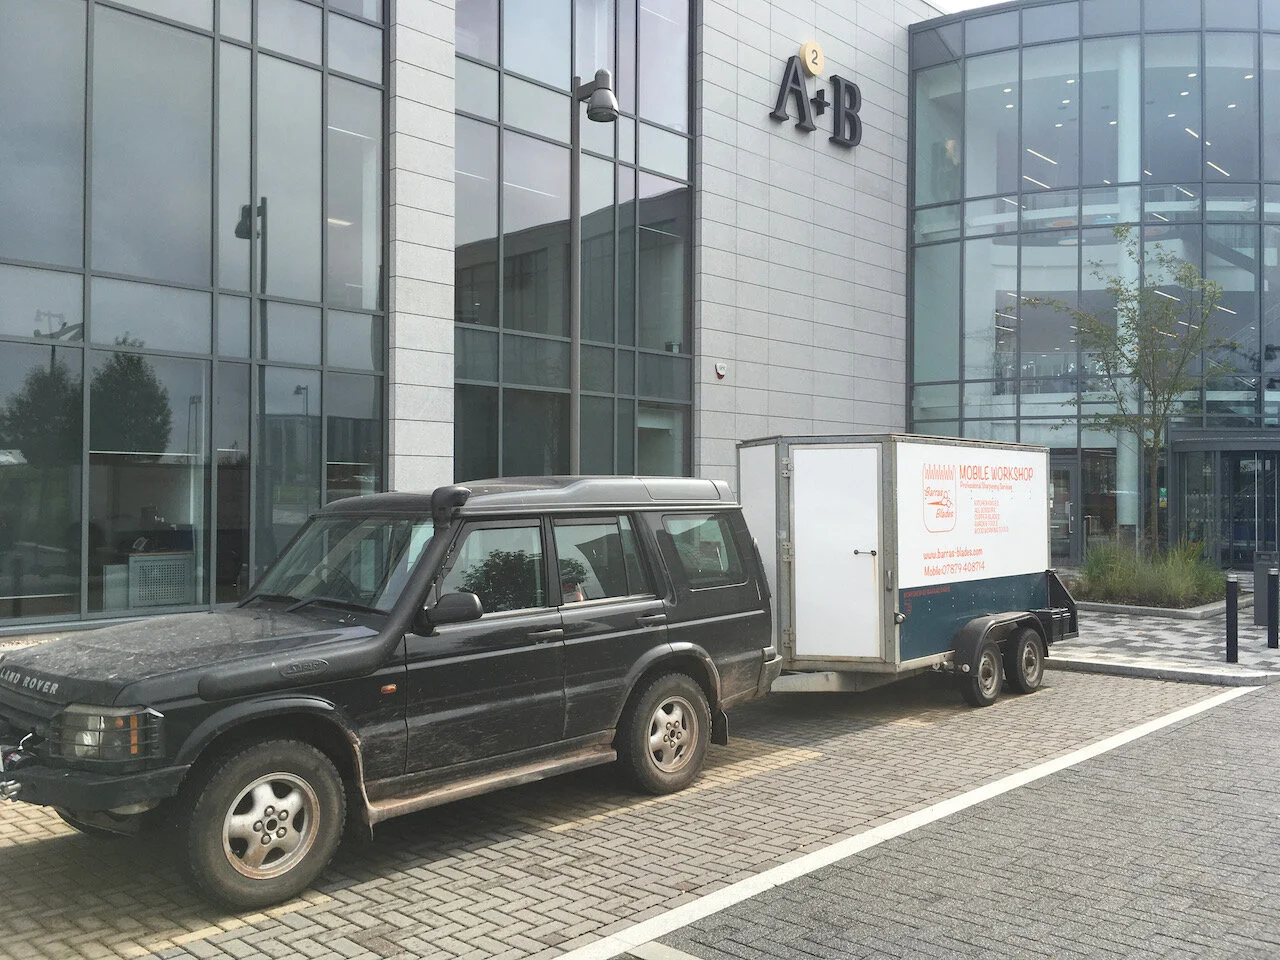
The mobile workshop is very much a constant work in progress with constant tweaks and changes to get it just right for the way I work. Hopefully I will remember to update this page or put something in the blogroll. but in the meantime enjoy the gallery below.


If you look around the web you will see there is a well known company warning not to use mobile sharpening services.
The reasons given are
Incorrect machinery
The job will be rushed
It is very noisy in the saloon
Lets have a wee go over his points
Incorrect machinery
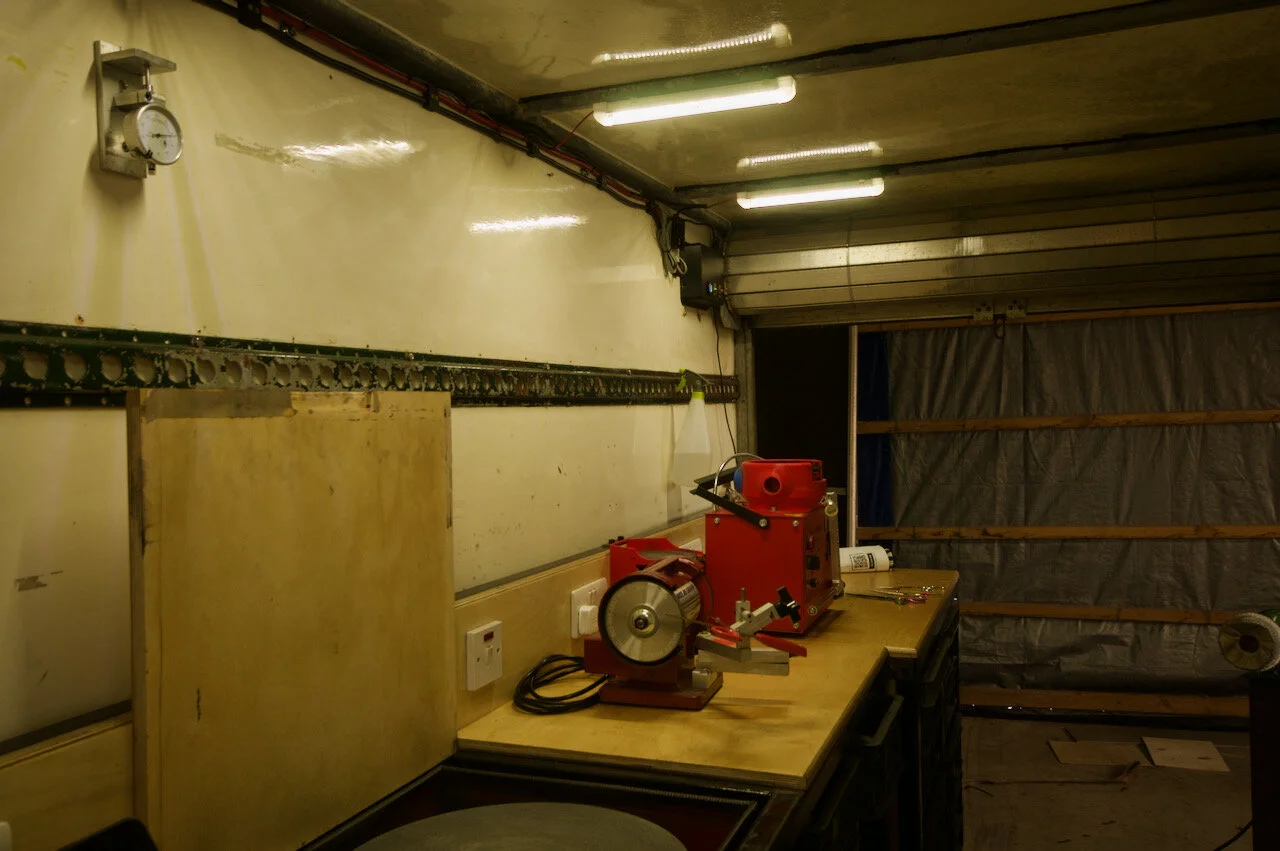
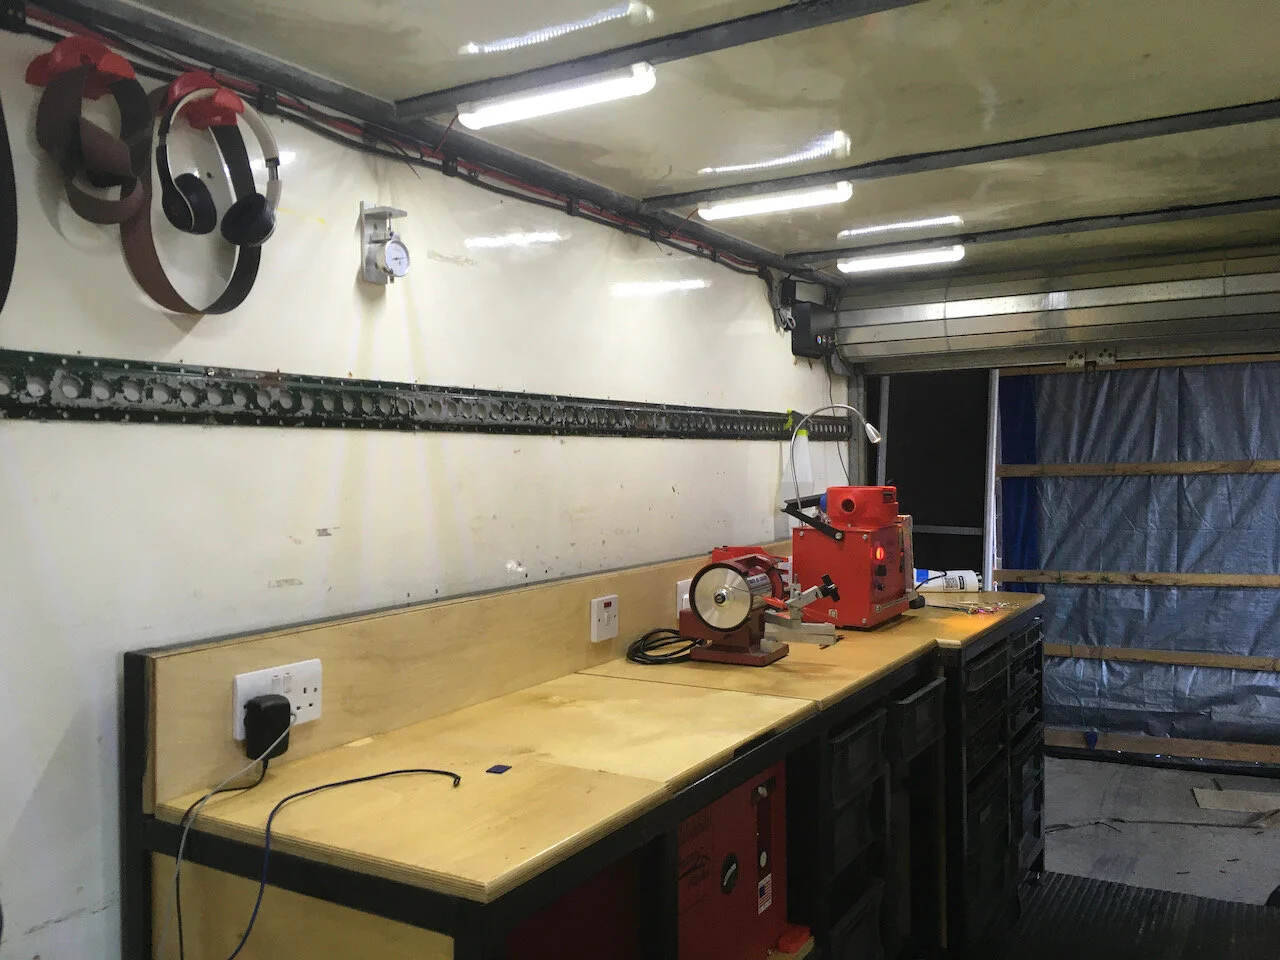
I carry 4 different machines to service scissors I have two TAS, a Corru-Gator and a Russian made flat hone so i can tackle bevel edge, convex and serrated scissors
The job will be rushed
No reason why I will be rushing in a mobile workshop
It is very noisy in the saloon
I won’t be in the saloon. I’ll be parked up around the corner working away in my workshop. I wouldn’t want to work in your saloon as i won’t have my drawers full of tools etc.
Now the advantage to the customer of a mobile service is as follows
You get your scissors back within the hour
You don’t have to risk posting them off (yes HERMES i’m looking at YOU)
If there is anything wrong then the return process is you trying them before you pay and seeing if you are happy or not